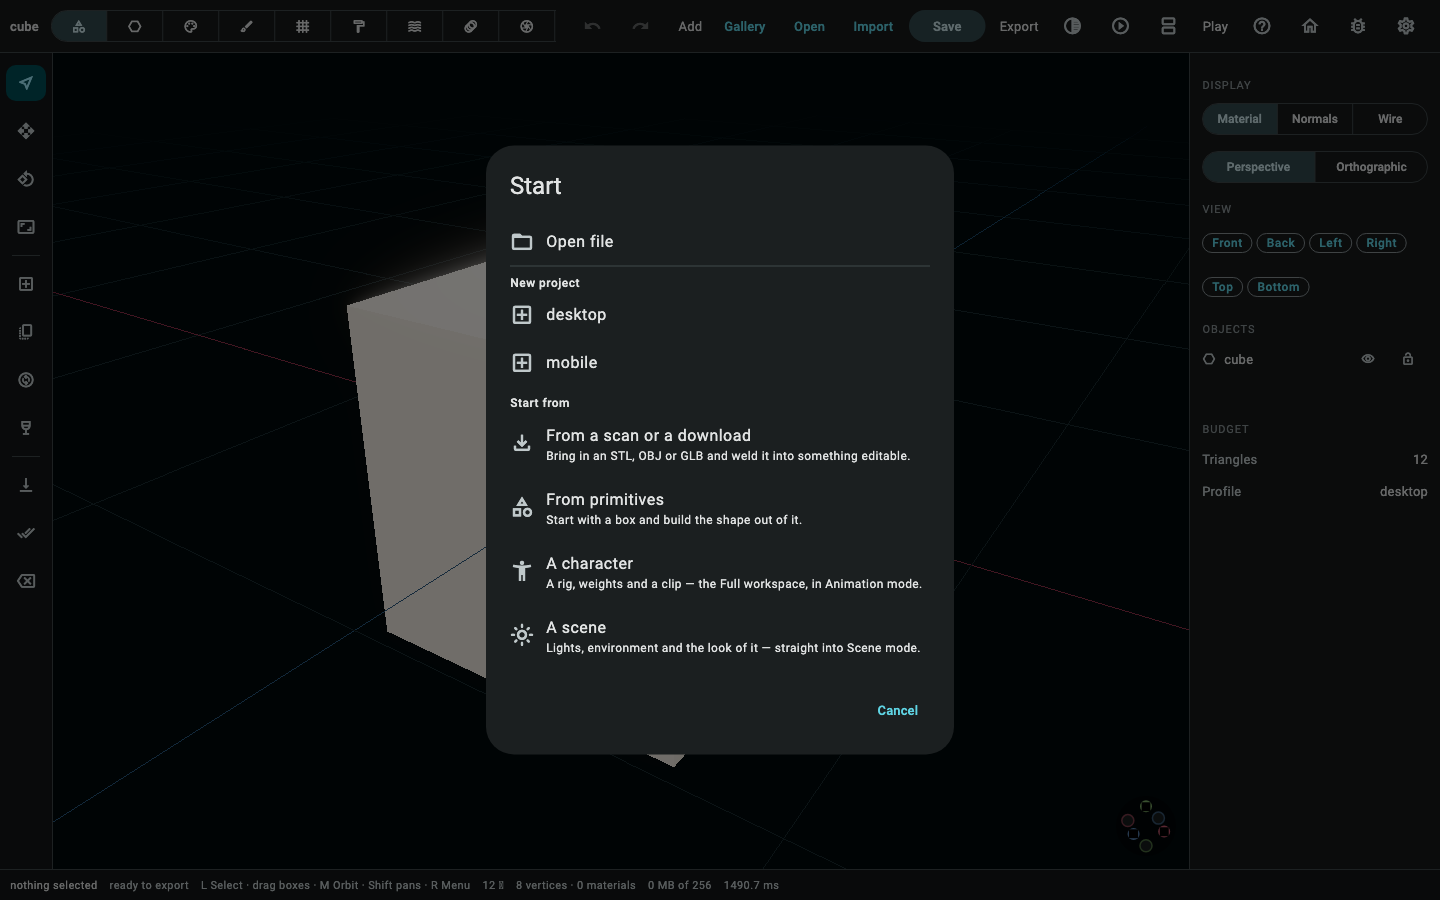
Every mode, once
The six cases after this one each walk one job end to end. This page is the other thing: one picture of every mode the editor has, so that when a case says "switch to Sculpt" you already know what you are switching into.
Every picture here is a photograph of the real editor, taken headlessly by
tutorial_screenshots_test.dart and held to a reference like any other
golden — if a panel moves, the test fails and the picture is retaken. None of
them is a mock-up.
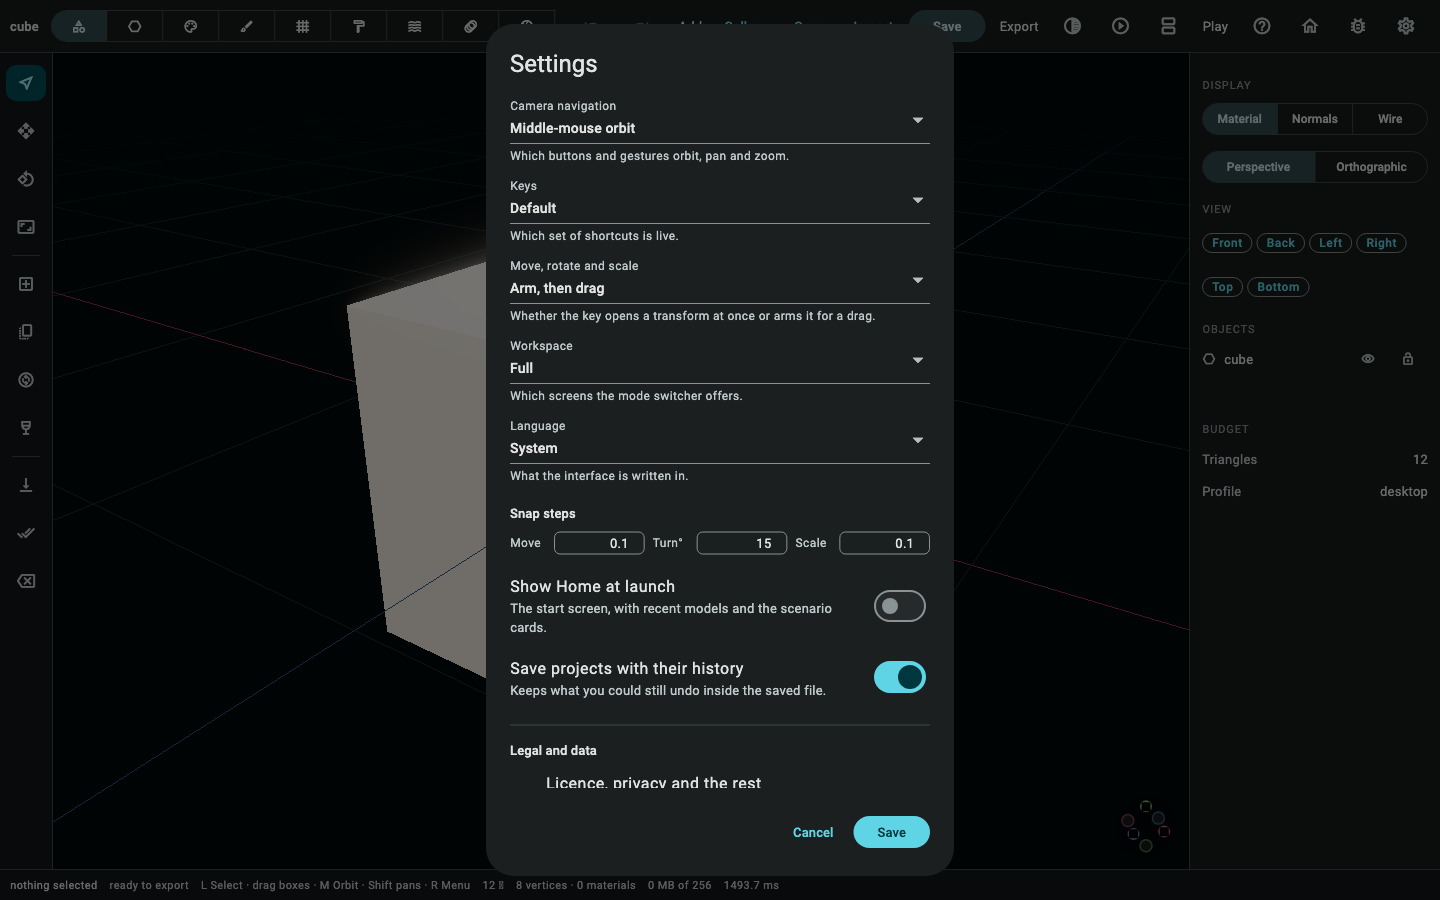
The switcher offers eleven modes in the Full workspace and three in Essential. Essential is Object, Material and Scene: "open a model, paint it, export it" is what most people who open a modeller are doing, and a switcher with eleven icons asks them to decide what Retopo mode is before they have done anything. Settings turns the rest on.
Object
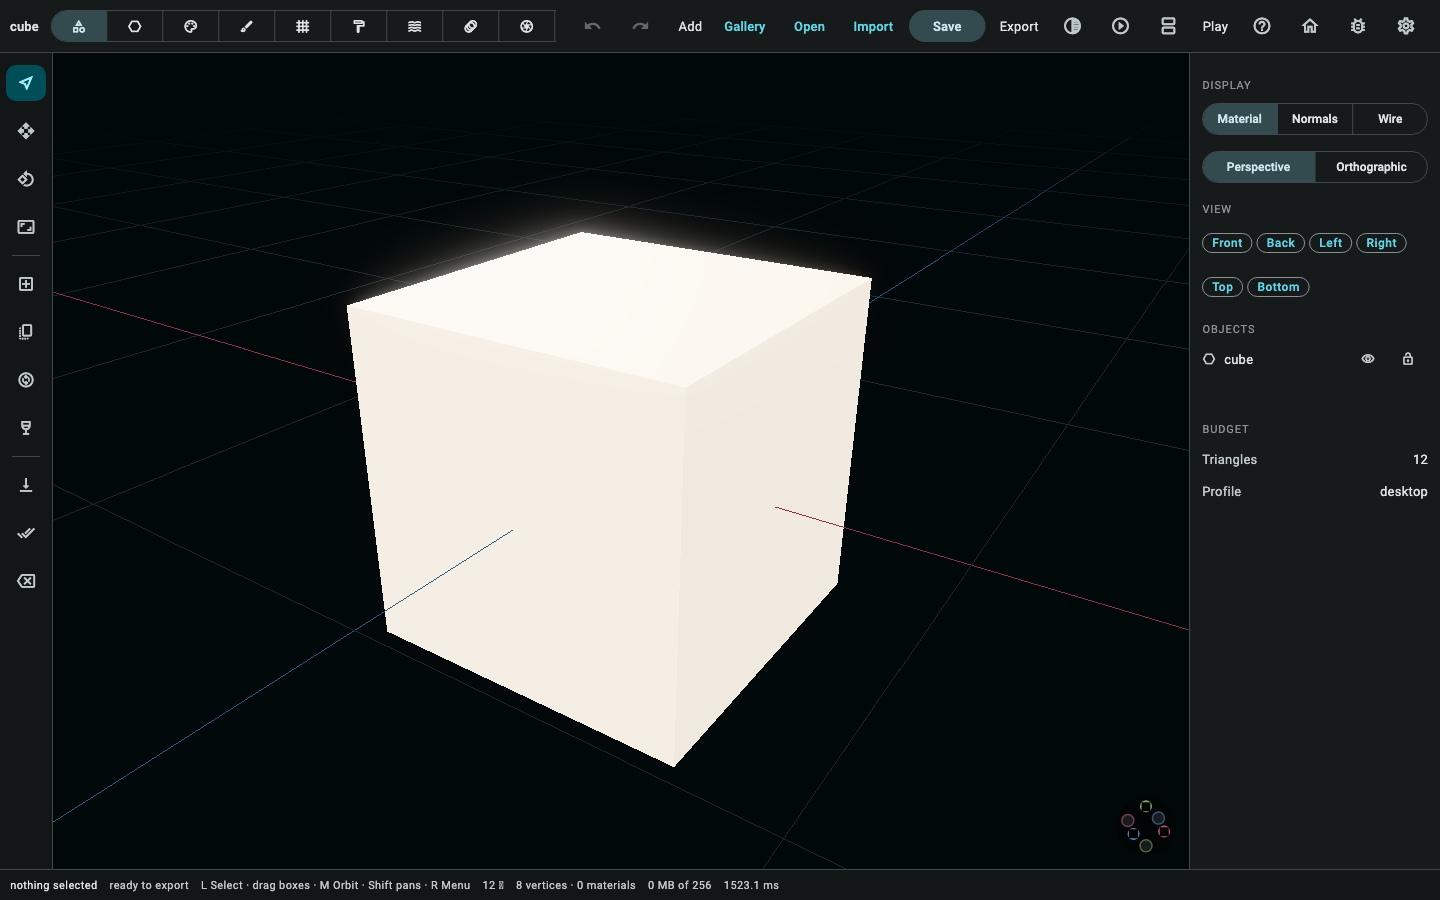
Where a launch opens. Objects are moved, turned, scaled, parented and duplicated here, and this is the only mode that adds a new one. The properties panel is the document: the outliner above, the selected object's transform, modifiers and material below.

Under the modifiers, an object says how many levels of detail it has and opens them side by side. Add a level and it keeps half the triangles of the coarsest so far and takes over at half its size on screen; a card's slider changes how much it keeps, and the marker on the strip under the pictures places where it takes over. The marker moves the level you have just added, by adjusting that step rather than adding another — a level made earlier says its threshold is fixed, because nothing in the document moves one yet. The line at the top reads what the object covers in the main viewport right now, and which level that would draw.
Mesh
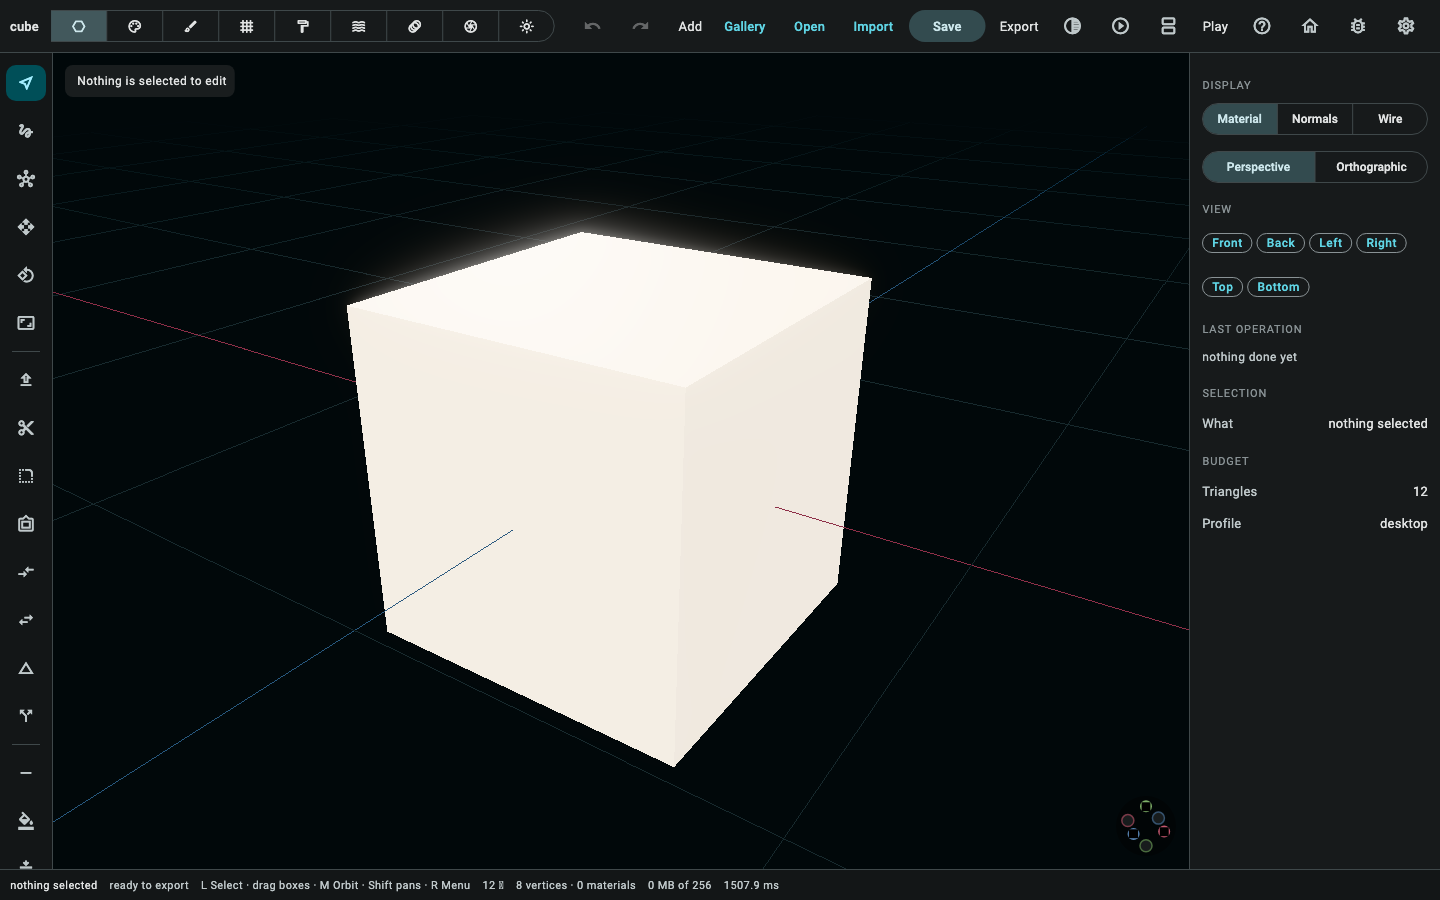
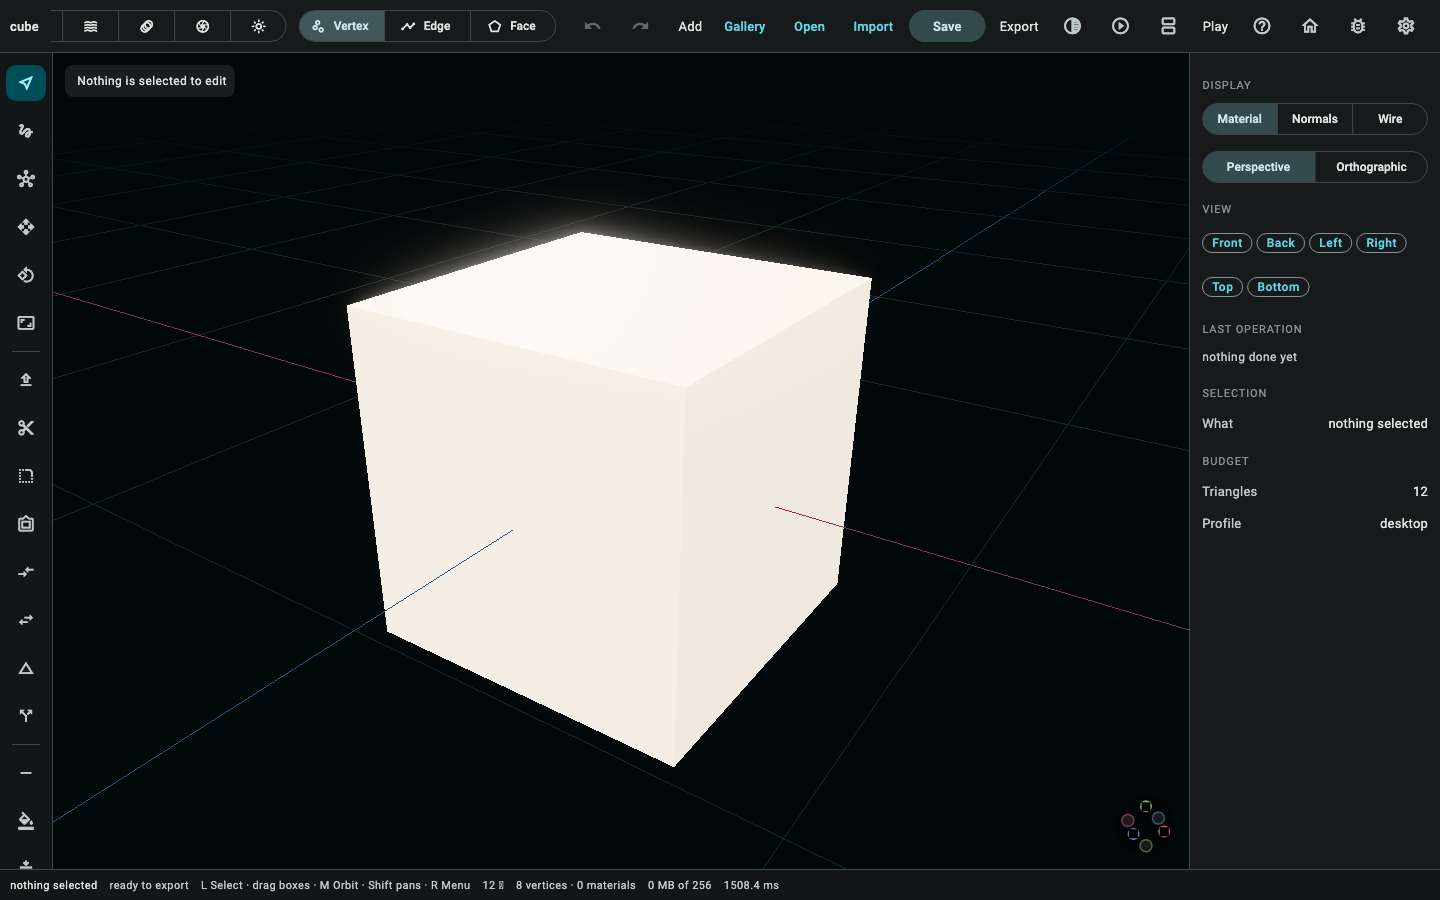
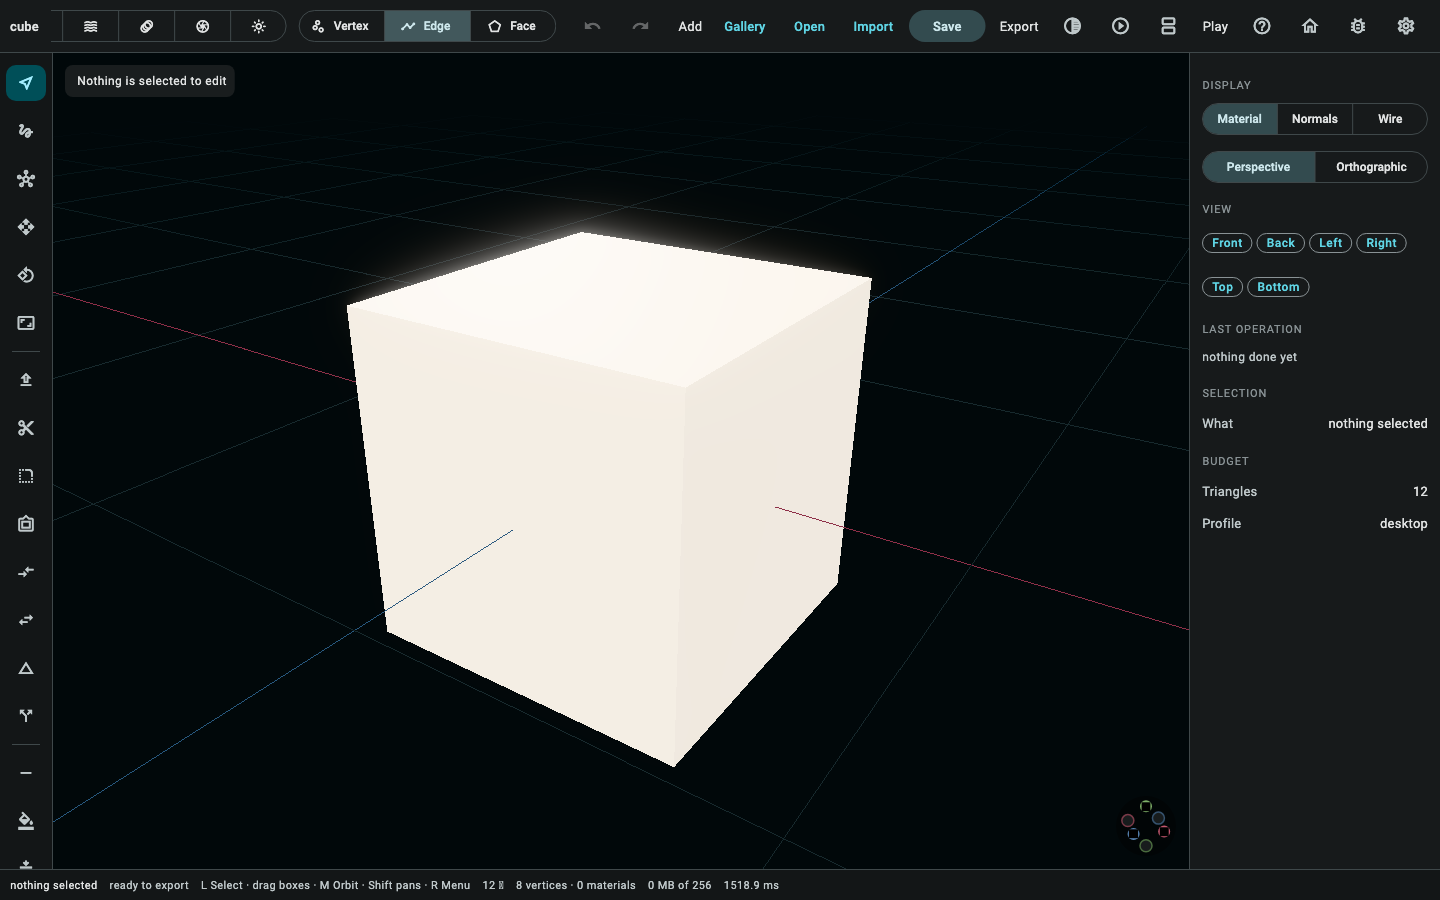
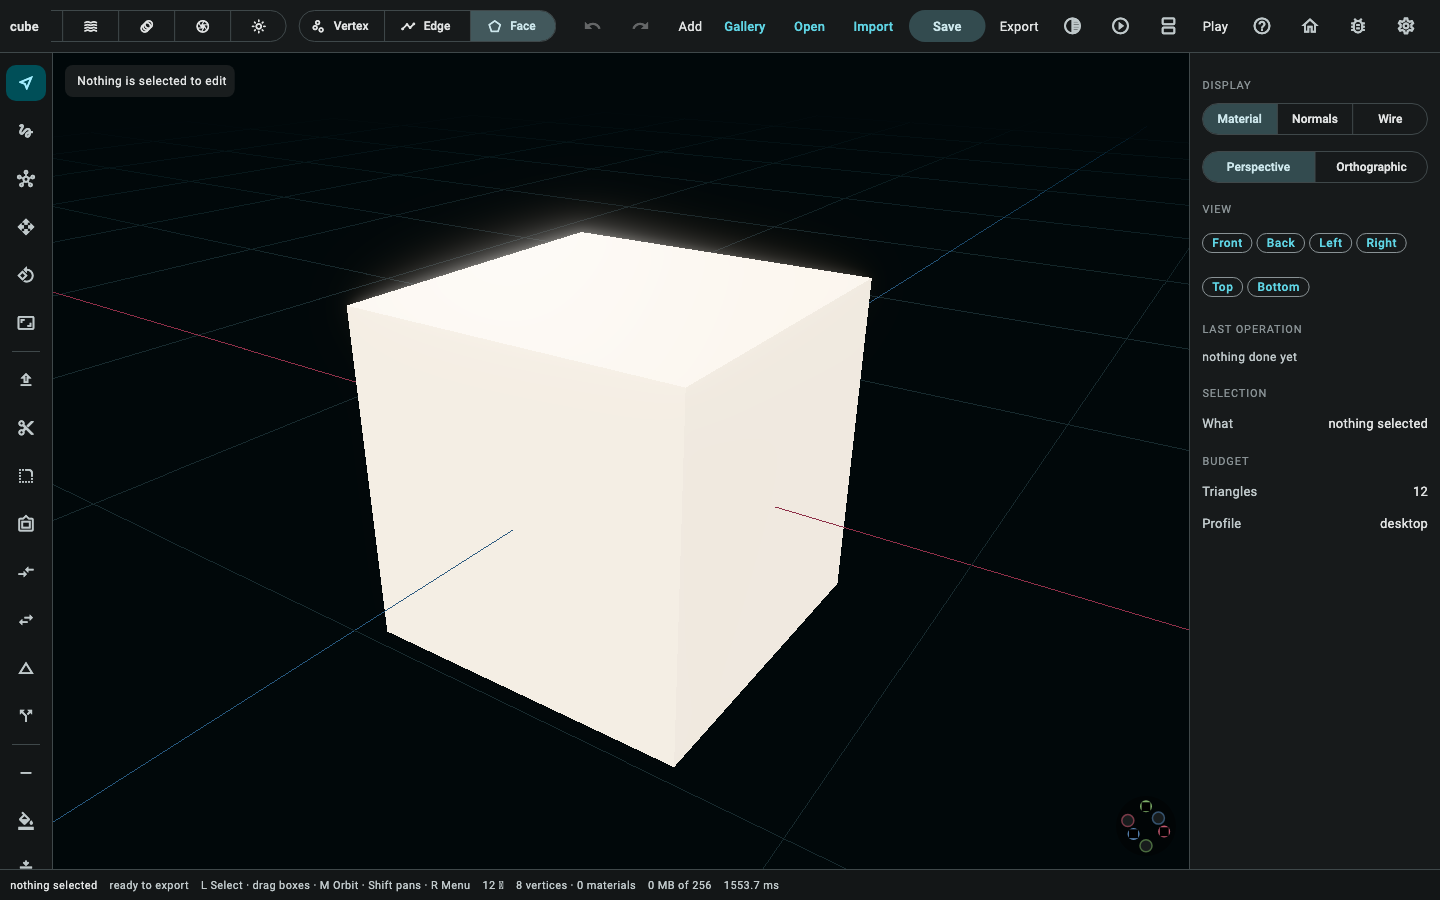
The topology itself — extrude, loop cut, bevel, inset, bridge, slide, and the cleanup beside them. It has three sub-modes, and they are one workflow at three grains rather than three workflows, which is why the rail does not change between them.
Material
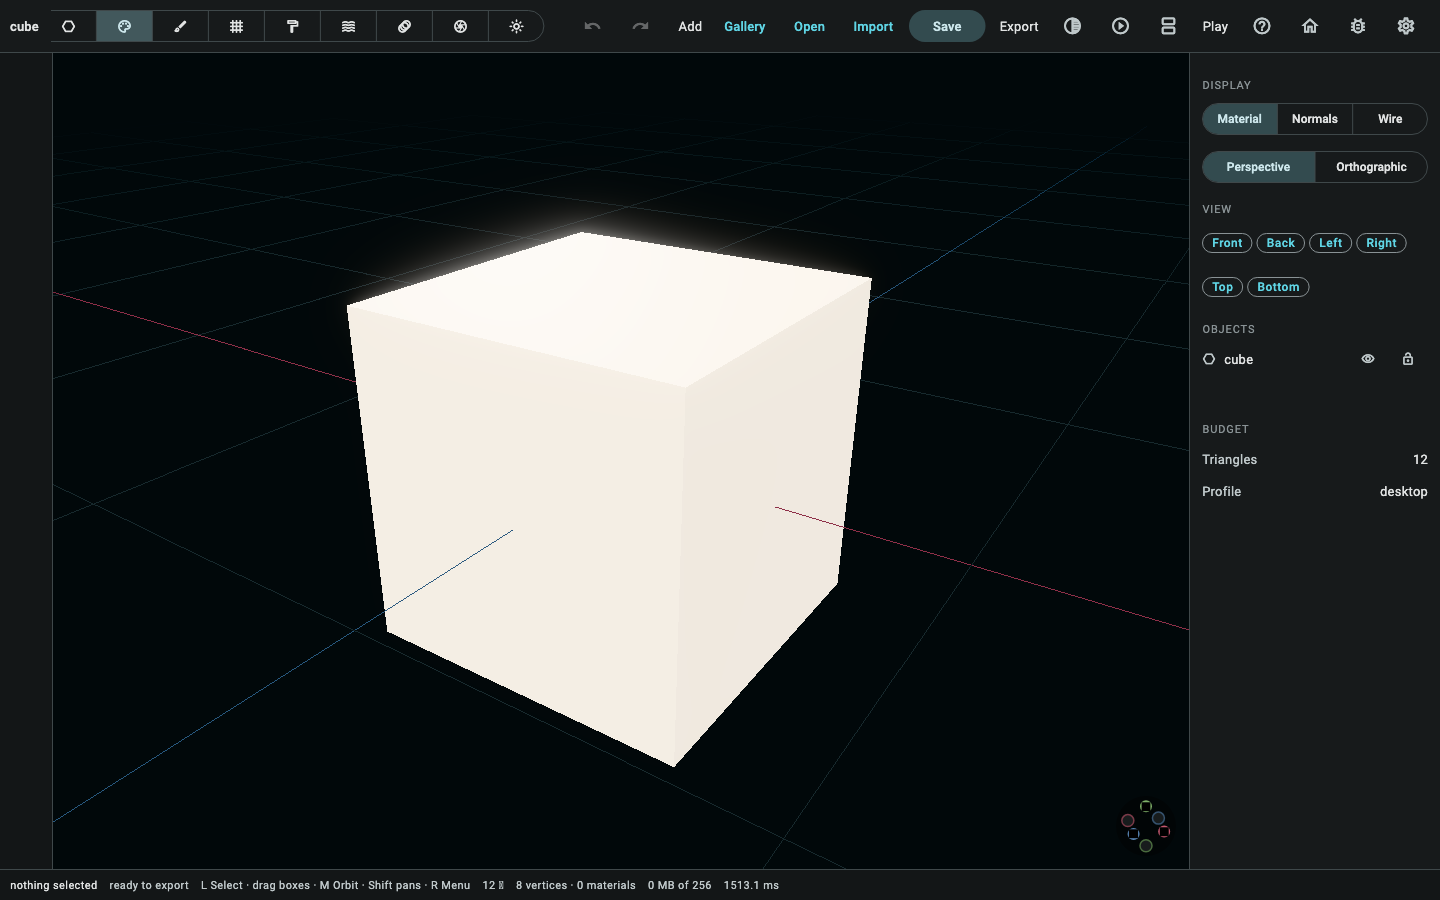
What a surface looks like — base colour, metallic, roughness, the five texture slots, and the node compositor that bakes into them.
UV

Where a mesh gets the layout a texture is painted through. Three columns: the model, the square the layout is drawn in, and the three settings an unwrap reads — the method, the gap between islands, and whether they are packed into one square afterwards.
A seam is an edge selection, and it is the mesh mode's own. Pick the object in Object mode, come here, select the edges a cut should run along — the vertex/edge/face switch is the same one — and press Mark a seam. The seams are drawn over the model in the second colour, and the card in the corner counts them.

Unwrap lays out the selected faces, or the whole mesh when none is selected. Each island is tinted by how stretched it came out, and a row in the list and a tap on the square light the same island. Every one of these — a seam, an unwrap, a pack — is one ⌘Z.
A closed shape with no seam on it does not unwrap. A cube with nothing cut cannot lie flat any more than the skin of an orange can before a knife has been through it; the unwrap lands with no area, and the status line says to mark seams rather than leaving an empty square to explain itself.
Pack into one atlas is for several objects at once: it fits their layouts into one shared square so they can share a texture and a draw call, and with one object selected it says so instead of doing nothing.
Sculpt
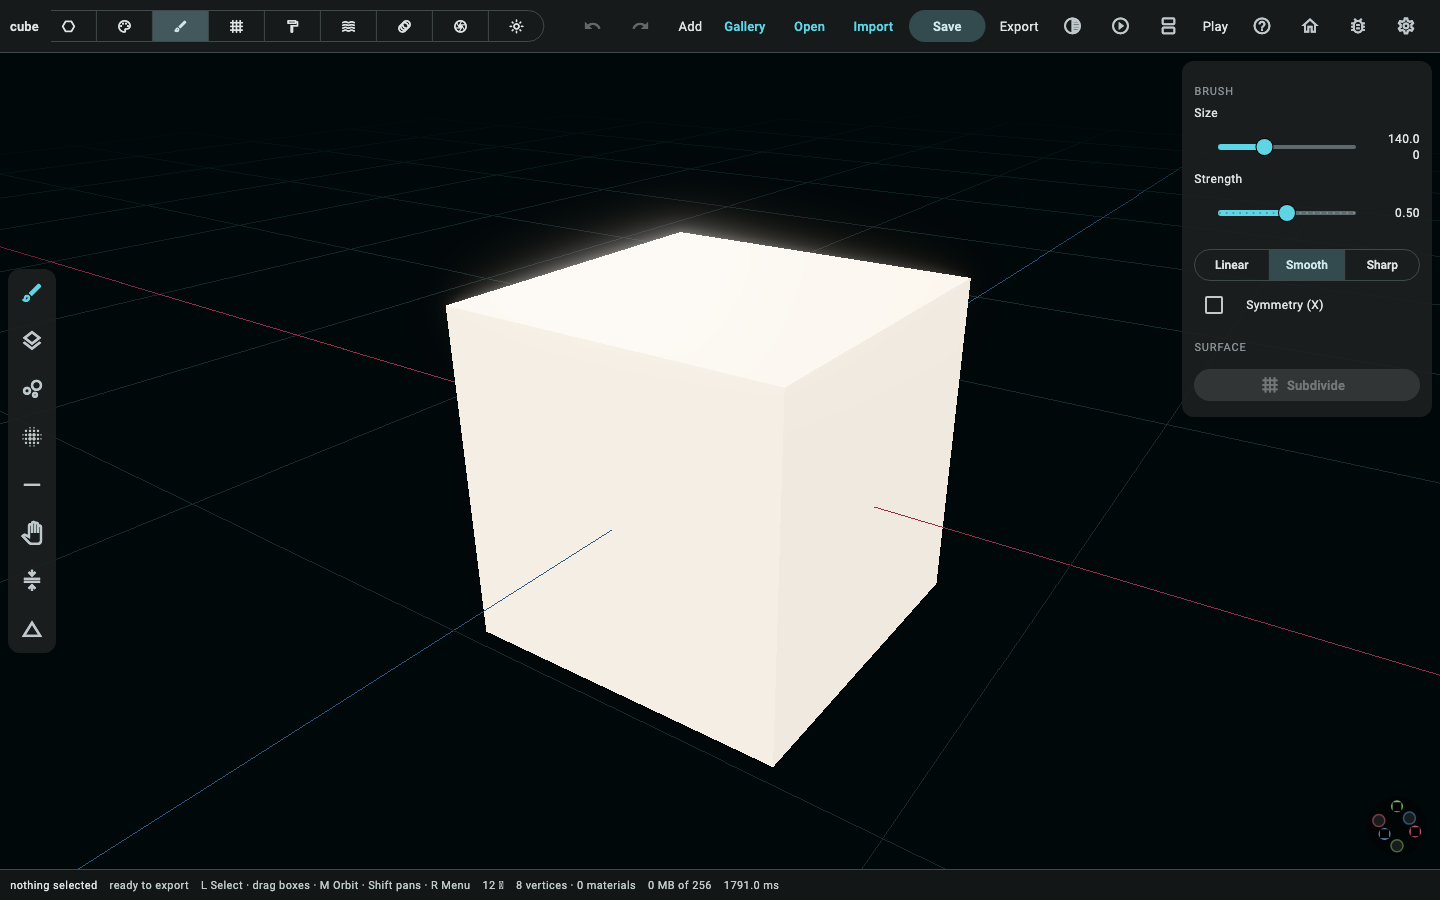
The one layout in the application with nothing docked beside the picture. Every other mode is about a document — a list of objects, a stack of modifiers, a table of bones — and a panel down the side is where those live; sculpting is one surface and one brush.
Eight brushes, a stroke is one ⌘Z however many pointer samples it was made of, and a finger orbits the camera rather than sculpting — you cannot aim a brush while the thing it is aimed at slides under it. A stylus and a mouse reach the surface; a stylus's pressure scales the stroke and flipping it over cuts in where the pen would build up.
Subdivide adds a real subdivision level to the mesh. It refuses on an object with shape keys or a bound skeleton: a subdivision carries neither with it.
Retopo
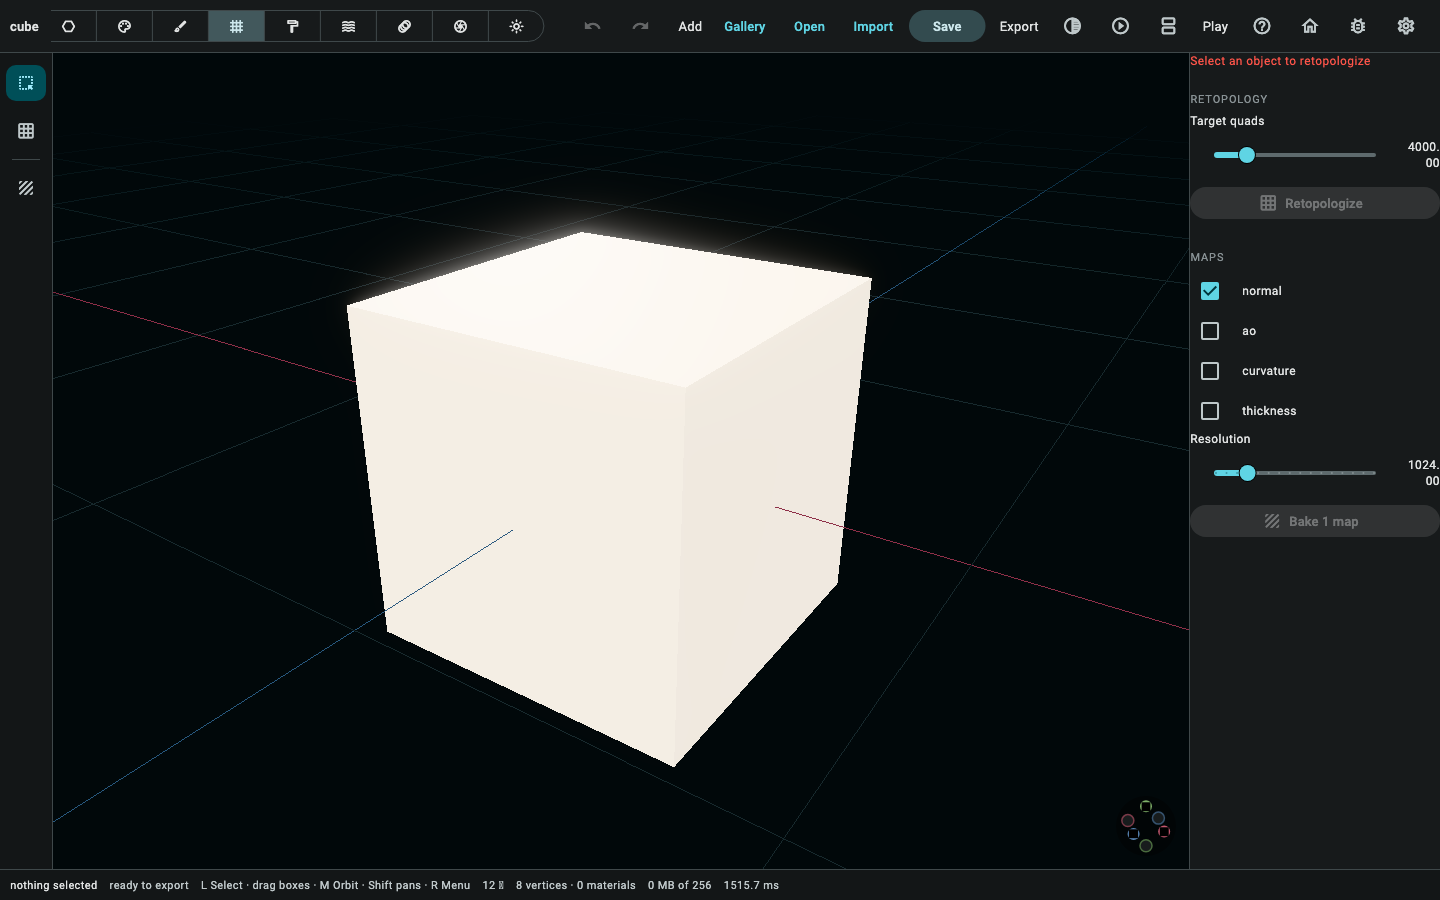
Making the low mesh, and baking the high one's detail onto it. Two blocks because they are two decisions: how many quads the retopology comes out at, done once, and which maps are baked onto it, done many times.
Draw a quad by clicking four points; each corner snaps to a vertex the new mesh already has or is pulled onto the high surface. The snap is the whole reason the tool is a tool — four fresh vertices per quad is a mesh that looks right in the viewport and exports as a shell full of holes.
While a bake runs, the progress takes the button's own place. The button that starts it is exactly the wrong thing to leave pressable.
Paint
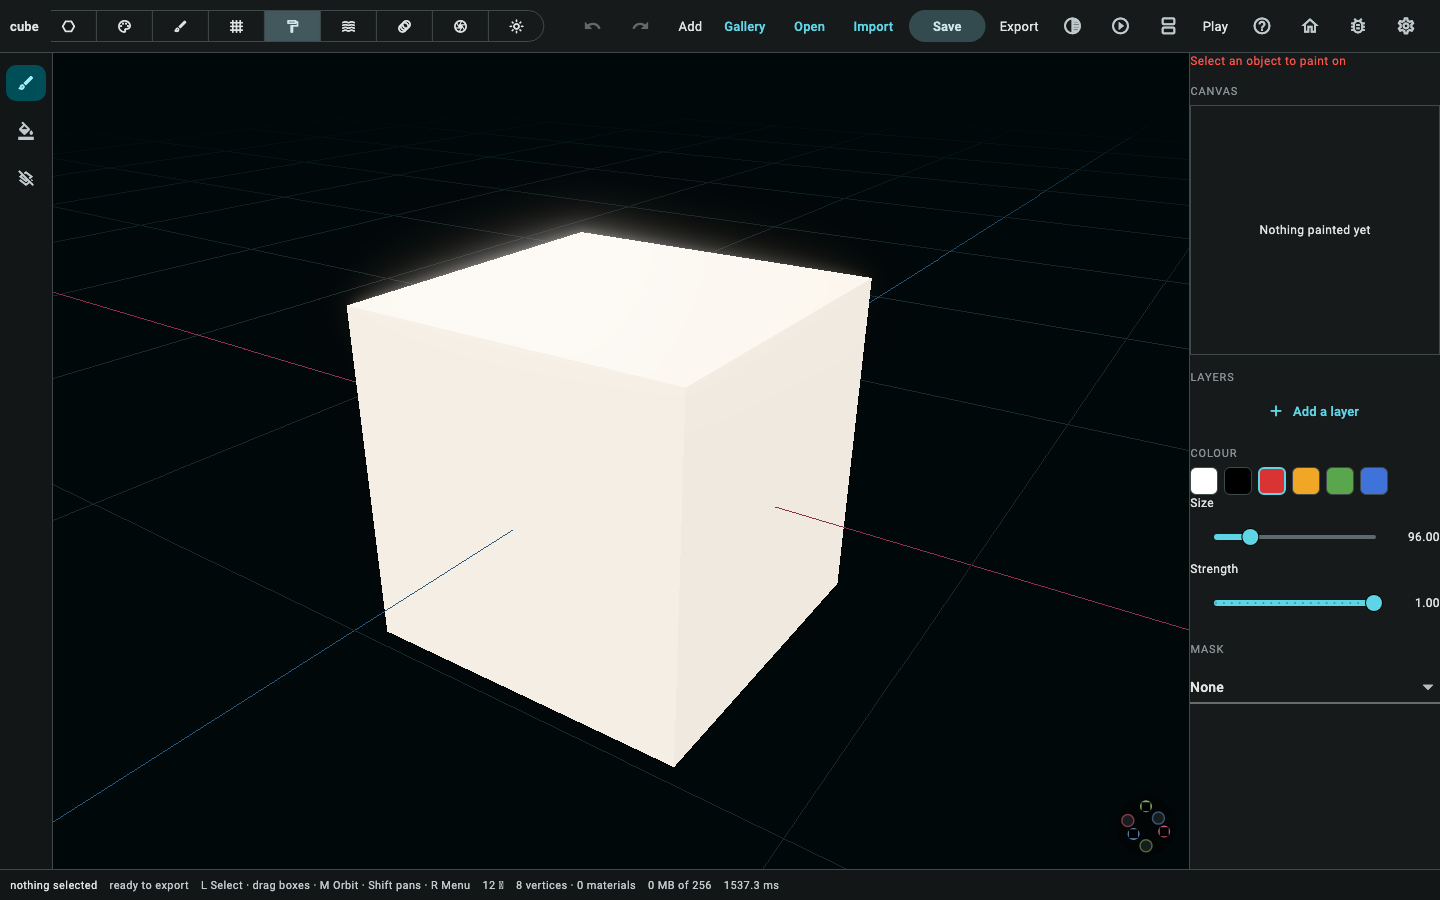
Painting onto the object's own texture through its UVs. The brush is a ball in space rather than a circle in the layout, so a stroke across a seam paints both islands — which is the defect every texture painter is judged by.
The canvas is on the panel because a stroke lands on the surface and on the texture at once, and only one of those shows whether it went where the UVs put it. A mask — an occlusion or curvature map baked in Retopo mode — gates the stroke, which is how paint settles into crevices instead of being painted into them by hand.
Simulate
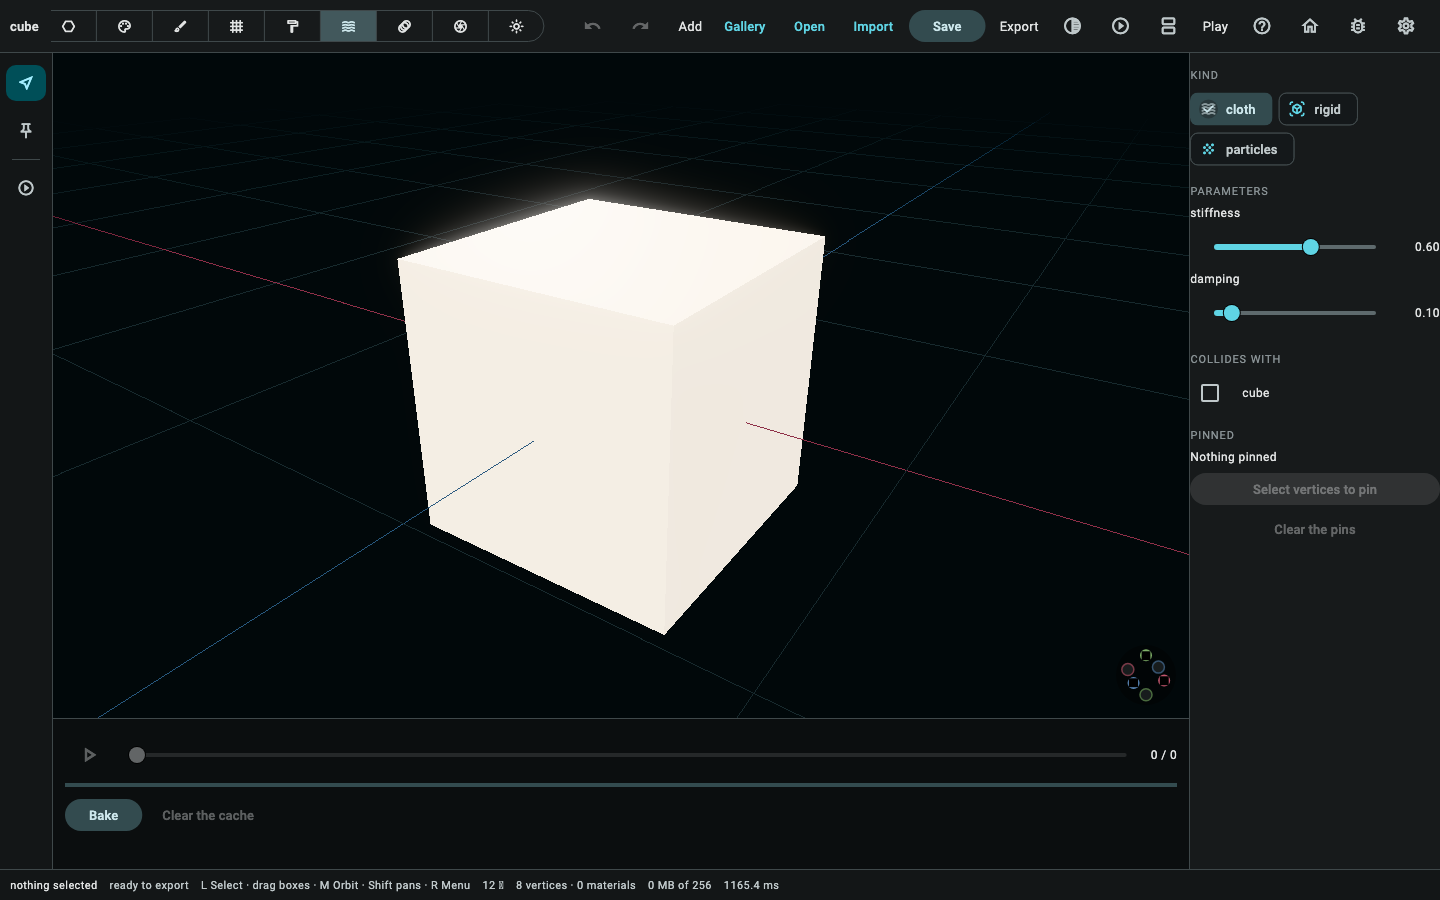
Cloth, rigid bodies and particles. A chip per kind rather than a dropdown, because the parameters change wholesale with the choice.
Pinning is a selection, not a list of numbers: pick the vertices that hold the cloth up in the viewport and press Pin. Nobody knows a vertex by its number.
The strip under the picture scrubs the baked cache and draws how much of it exists — a simulation half baked is a scrub bar that runs out halfway, and saying so first is cheaper than explaining it after.
Animation
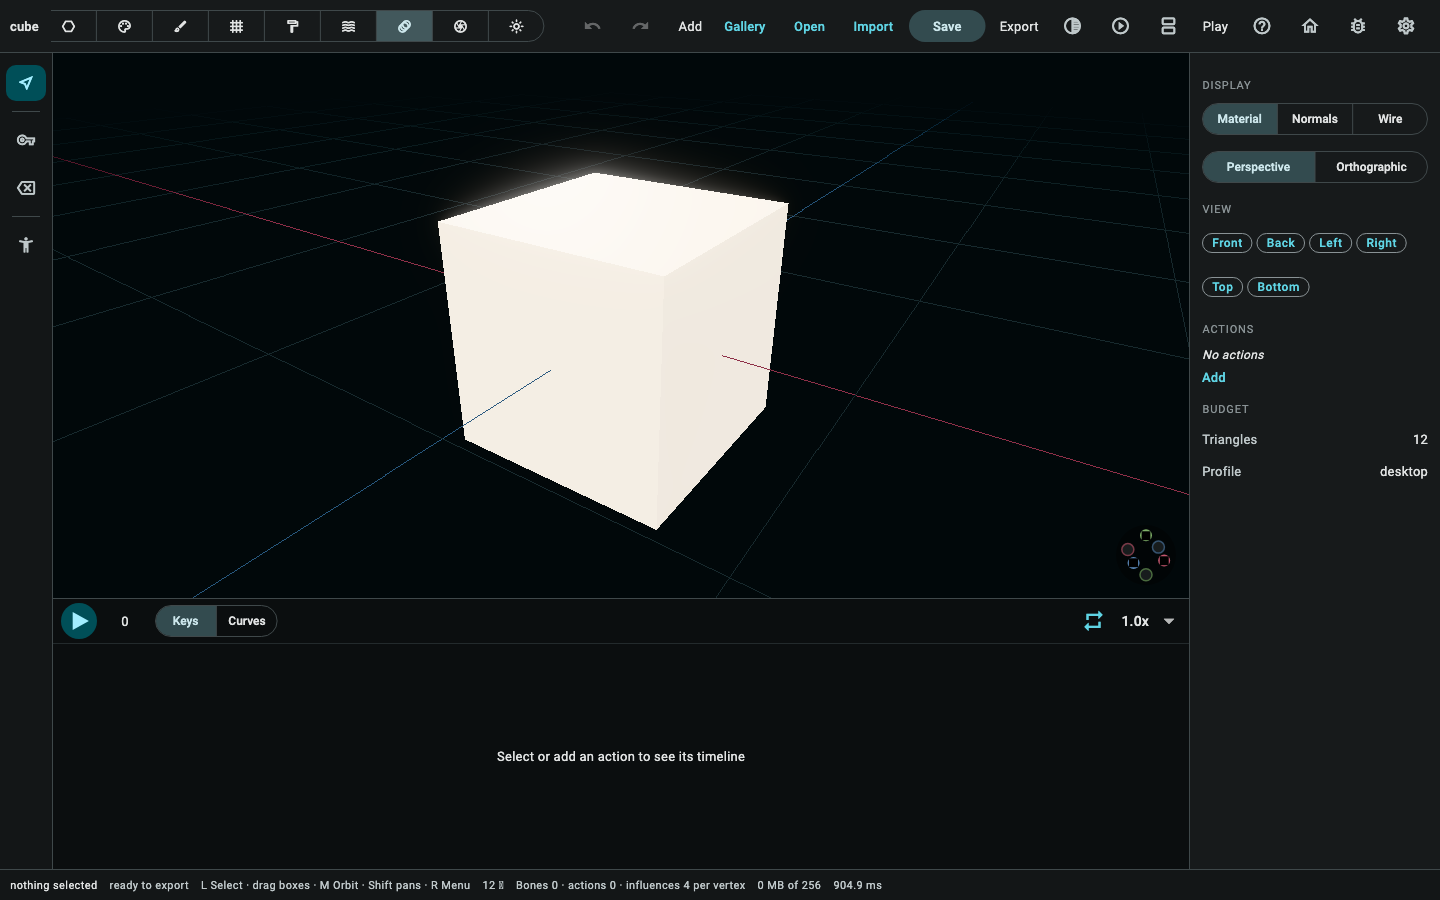
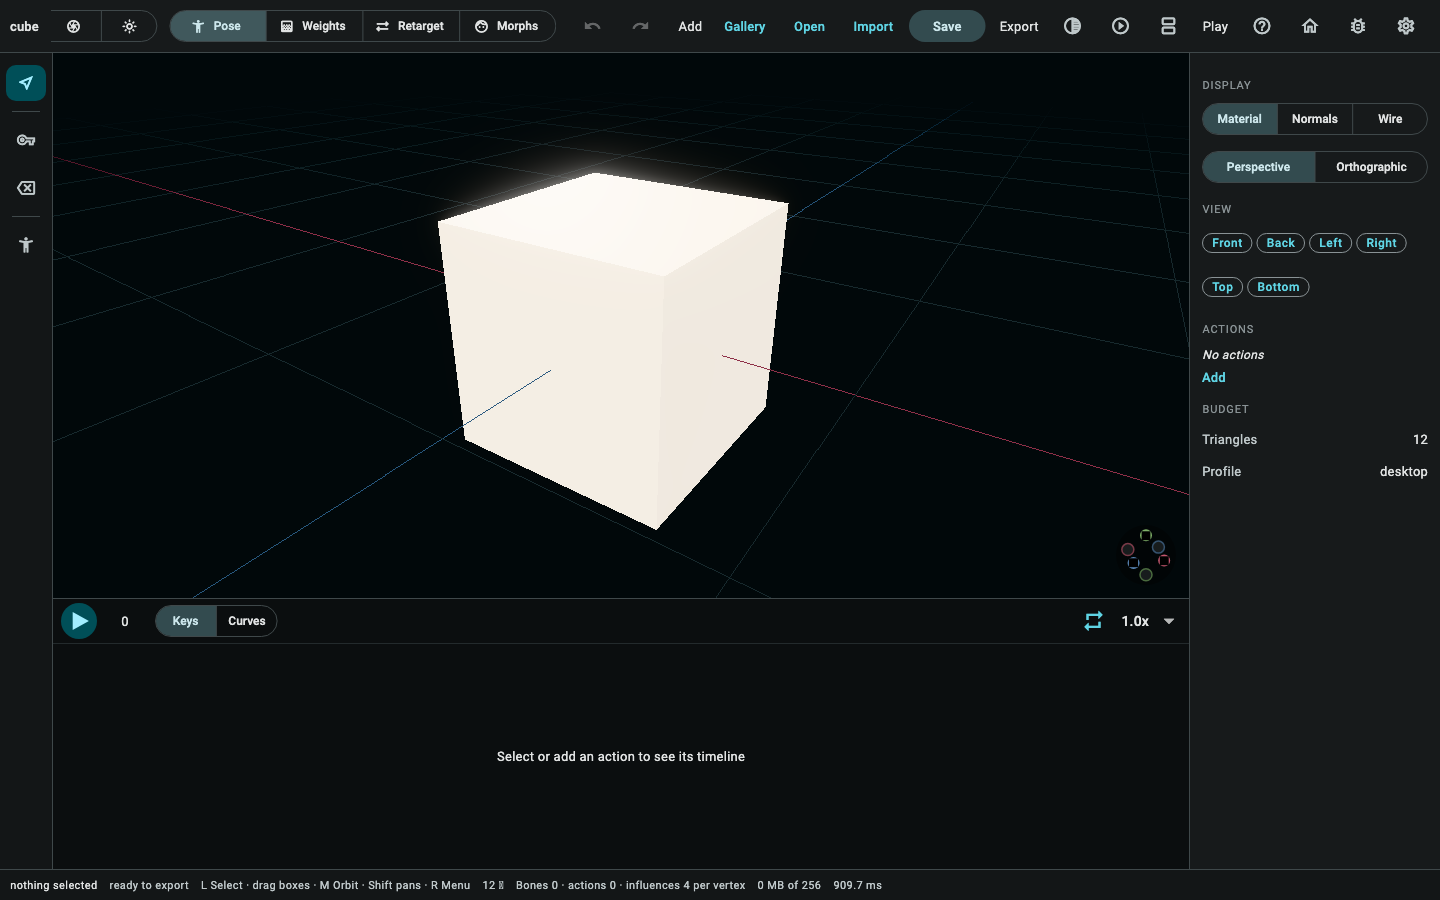
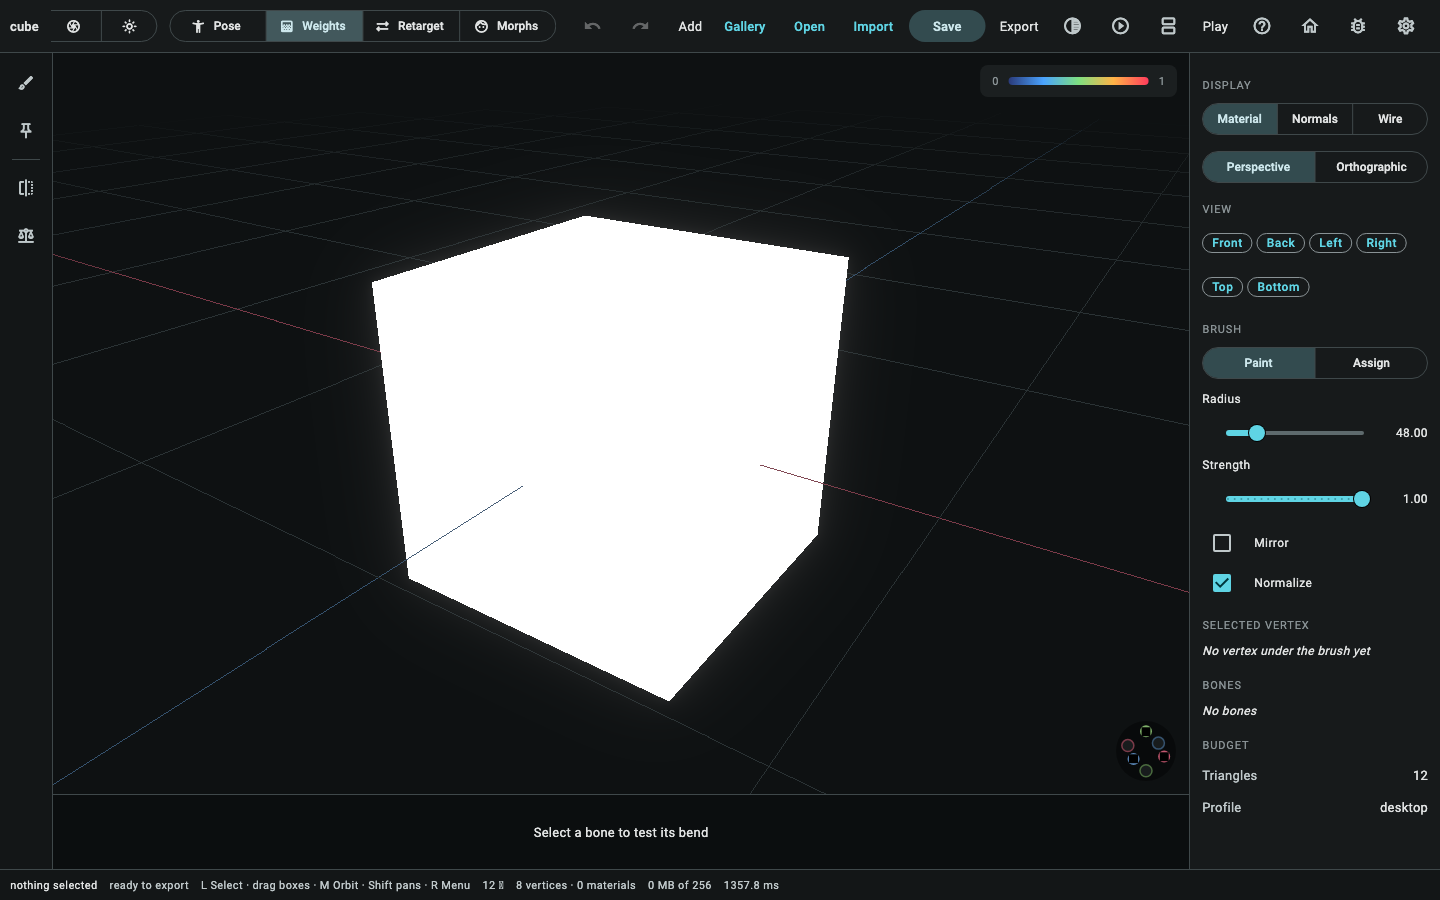
Four workflows that share a mode button, and unlike the mesh sub-modes these really are four different things — posing a joint and mapping a bone name are not one operation at two grains — so the rail and the panel change wholesale between them.
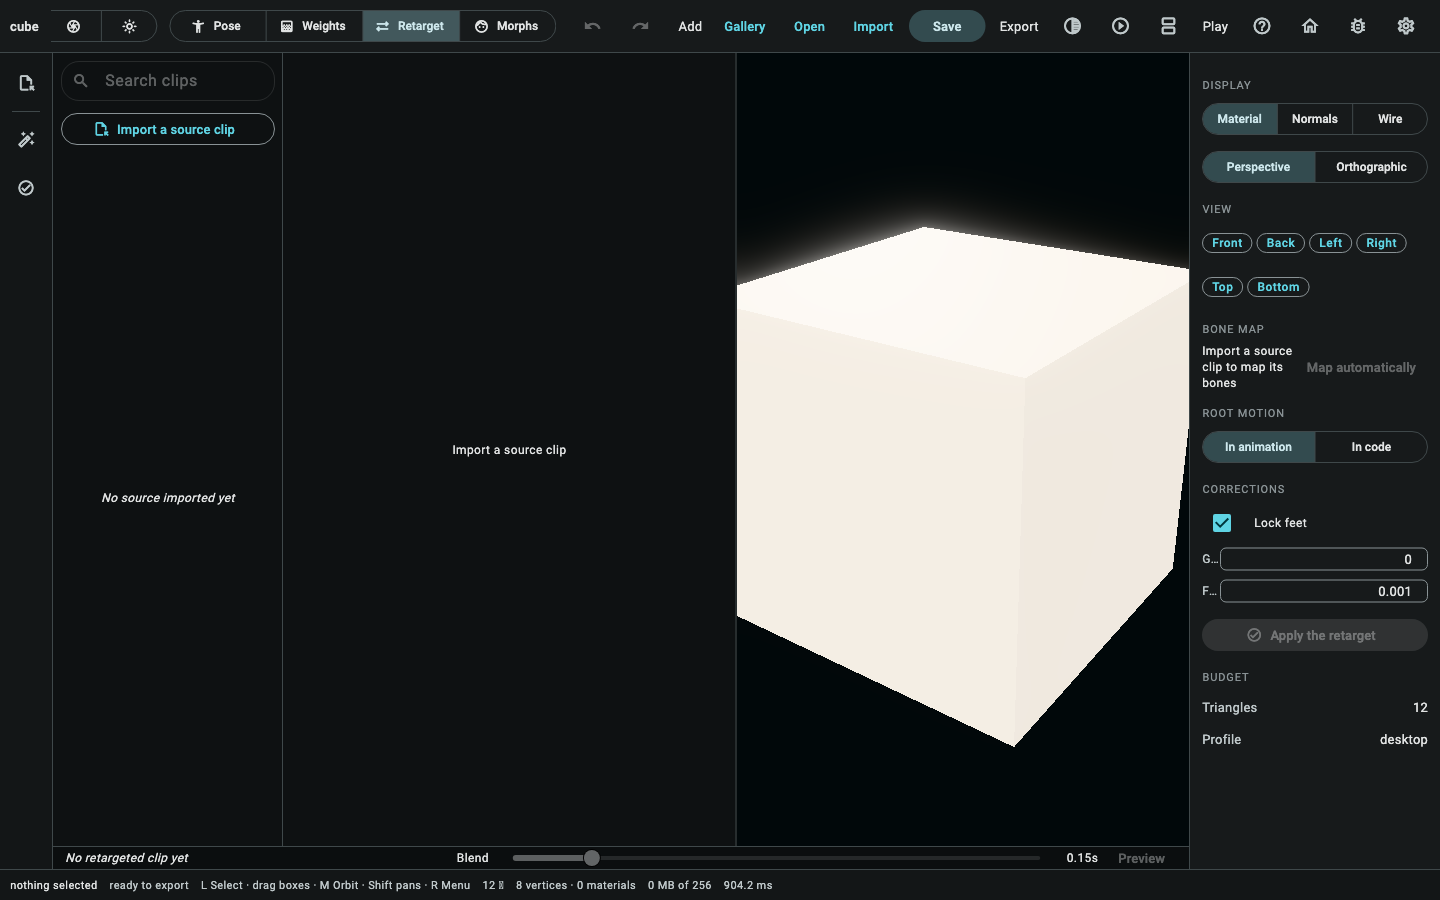
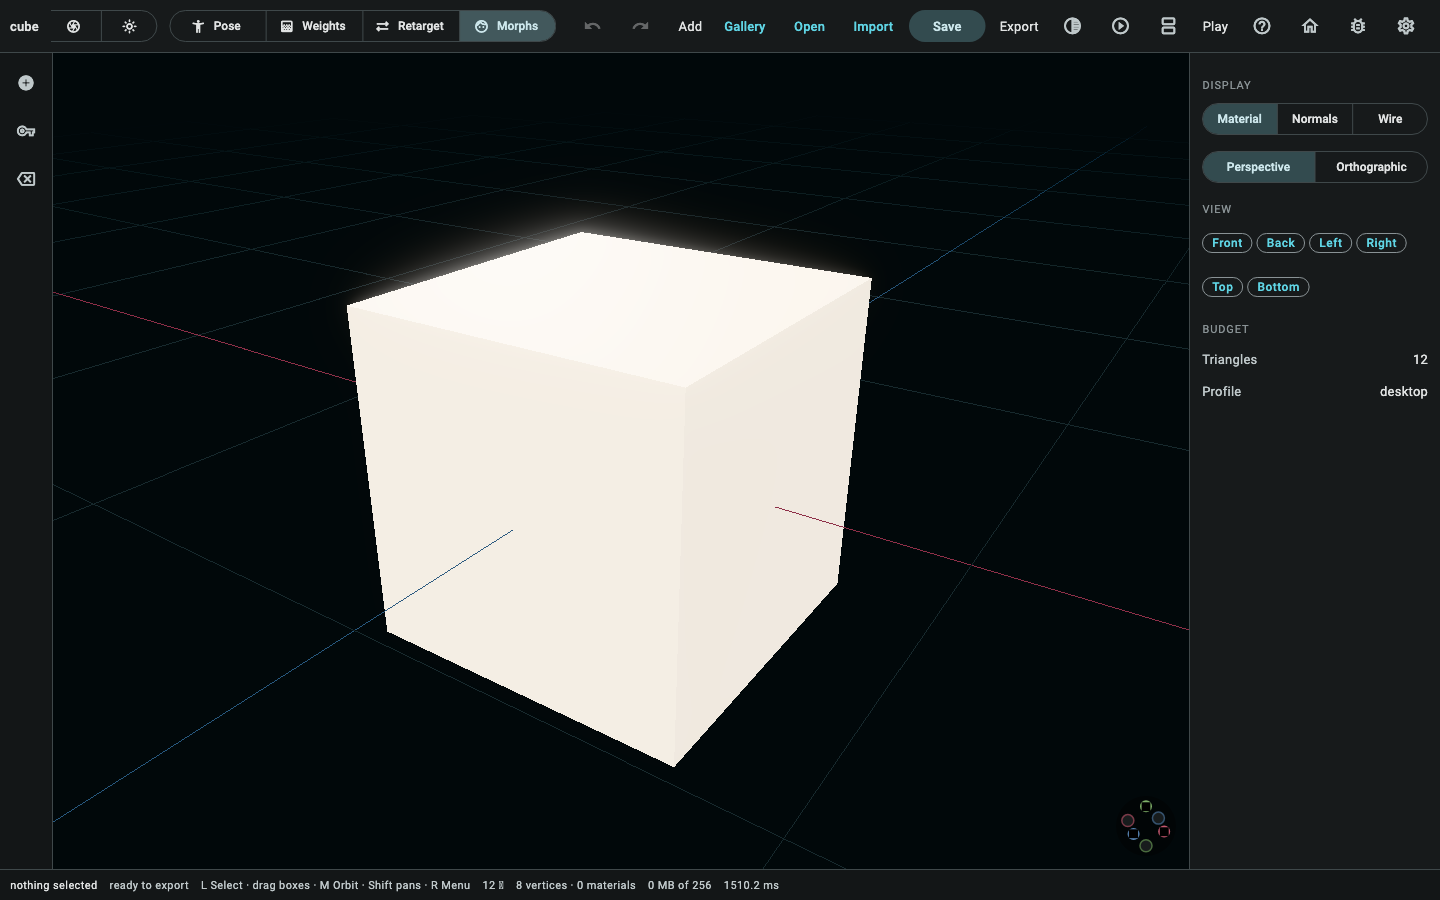
Render
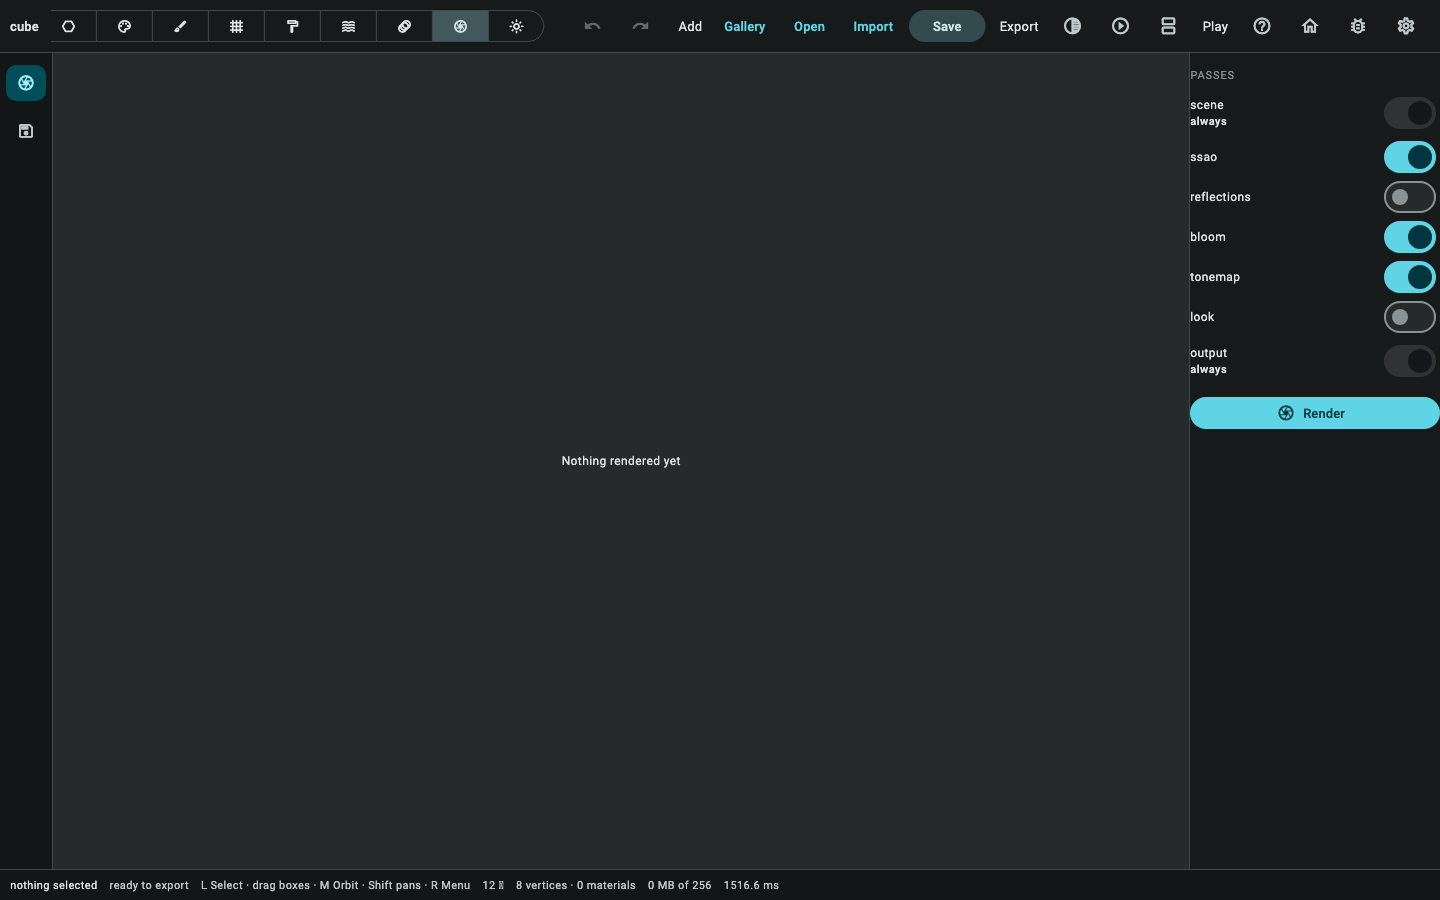
The composite chain is fixed — scene, ambient occlusion, reflections, bloom, tonemap, look, output — so what there is to decide is which of the middle ones run. A node editor for a chain that cannot be rewired would be a lie about what the renderer does, so it is a list with switches, in the order it runs, and the two ends are drawn without a switch rather than with one that is always on.
The result takes the viewport's own place, and the tiles fill in as they land. A render is the one operation here long enough for "is it working" to be a real question, and a bar somewhere else on the screen answers it worse than the picture filling in does.
Scene
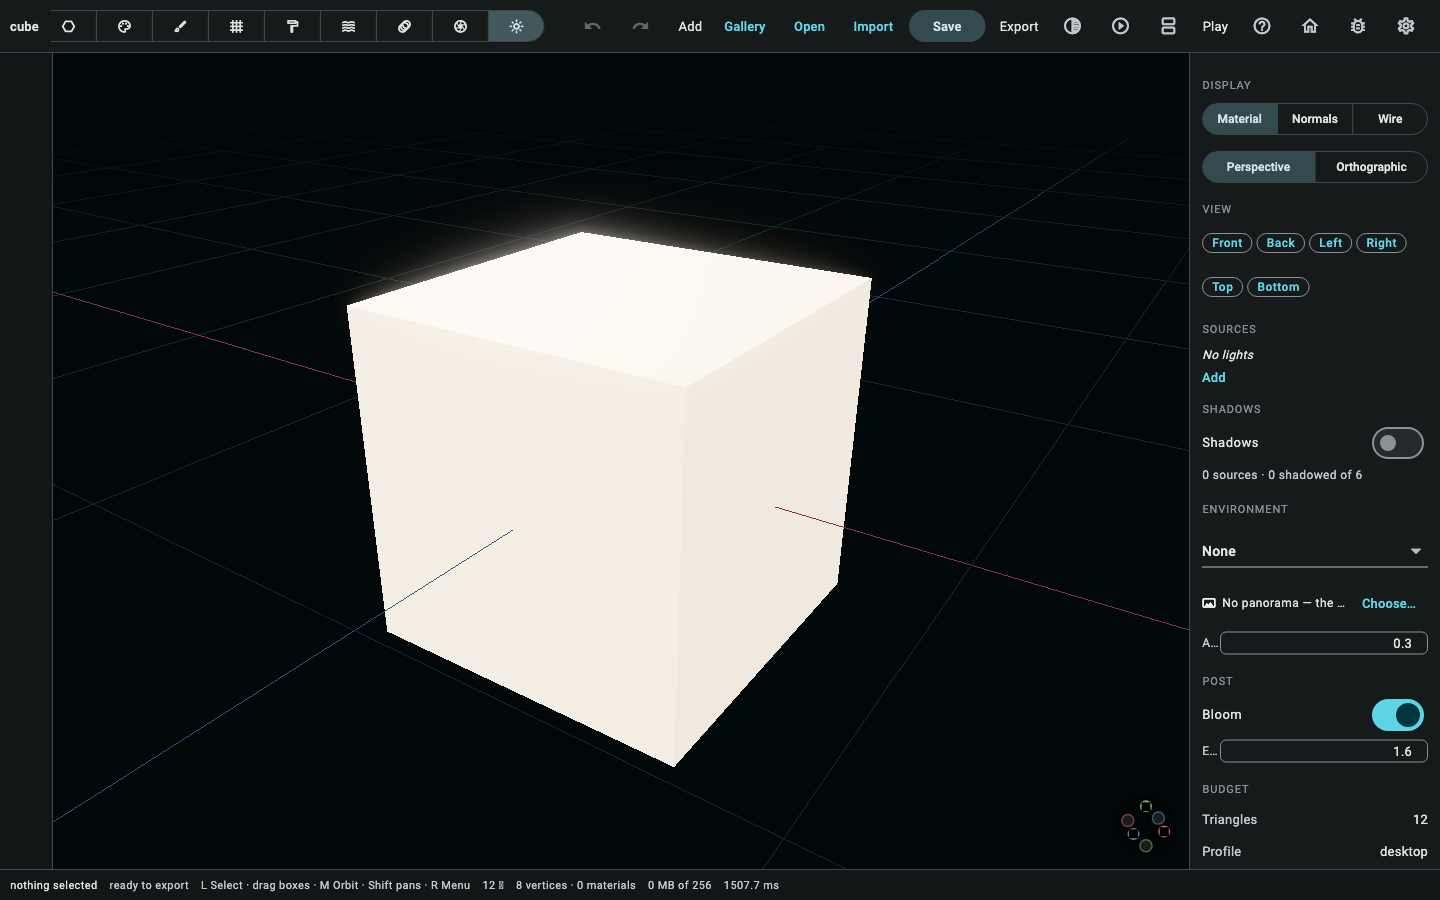
The lights, the environment, the shadows and the post — everything about how the document is lit rather than what is in it. The lights are on the rail as well as in the panel: a mode whose rail is empty reads as a mode with nothing in it.
The dialogs a mode opens over itself
These are not modes either, and no case page shows them: each one is a whole decision, taken over whatever mode you happen to be in.
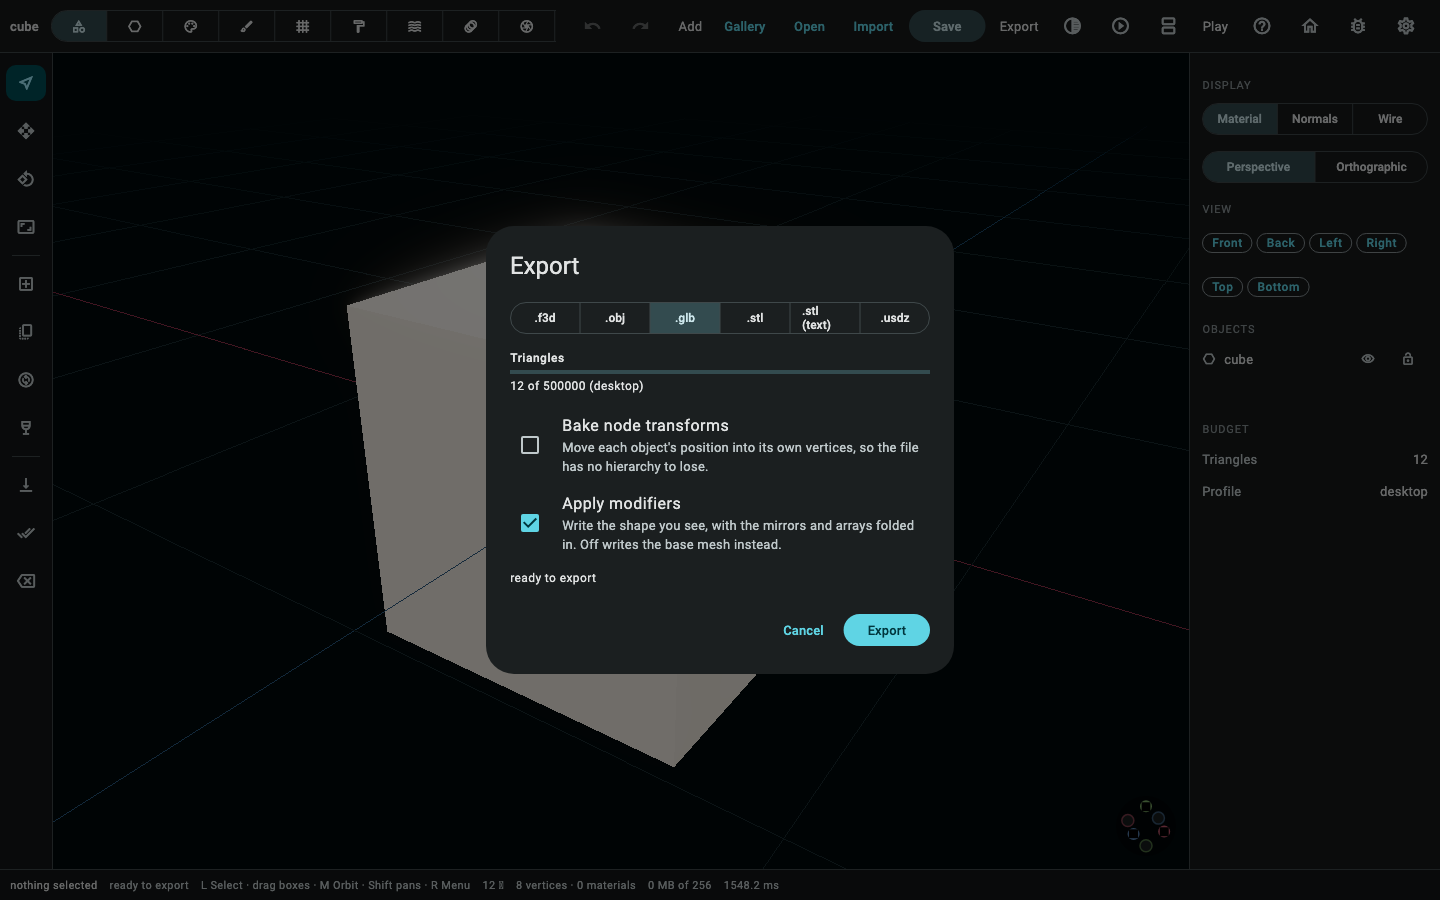
The formats are a row rather than a dropdown because the choice changes what
the rest of the sheet means — the KTX2 toggle only exists for .f3d, and a
format that cannot carry a thing is better missing the switch than showing
one that does nothing. The readiness list is the part worth reading: it names
what will not survive the format, with a Show beside each that selects the
object it is about.
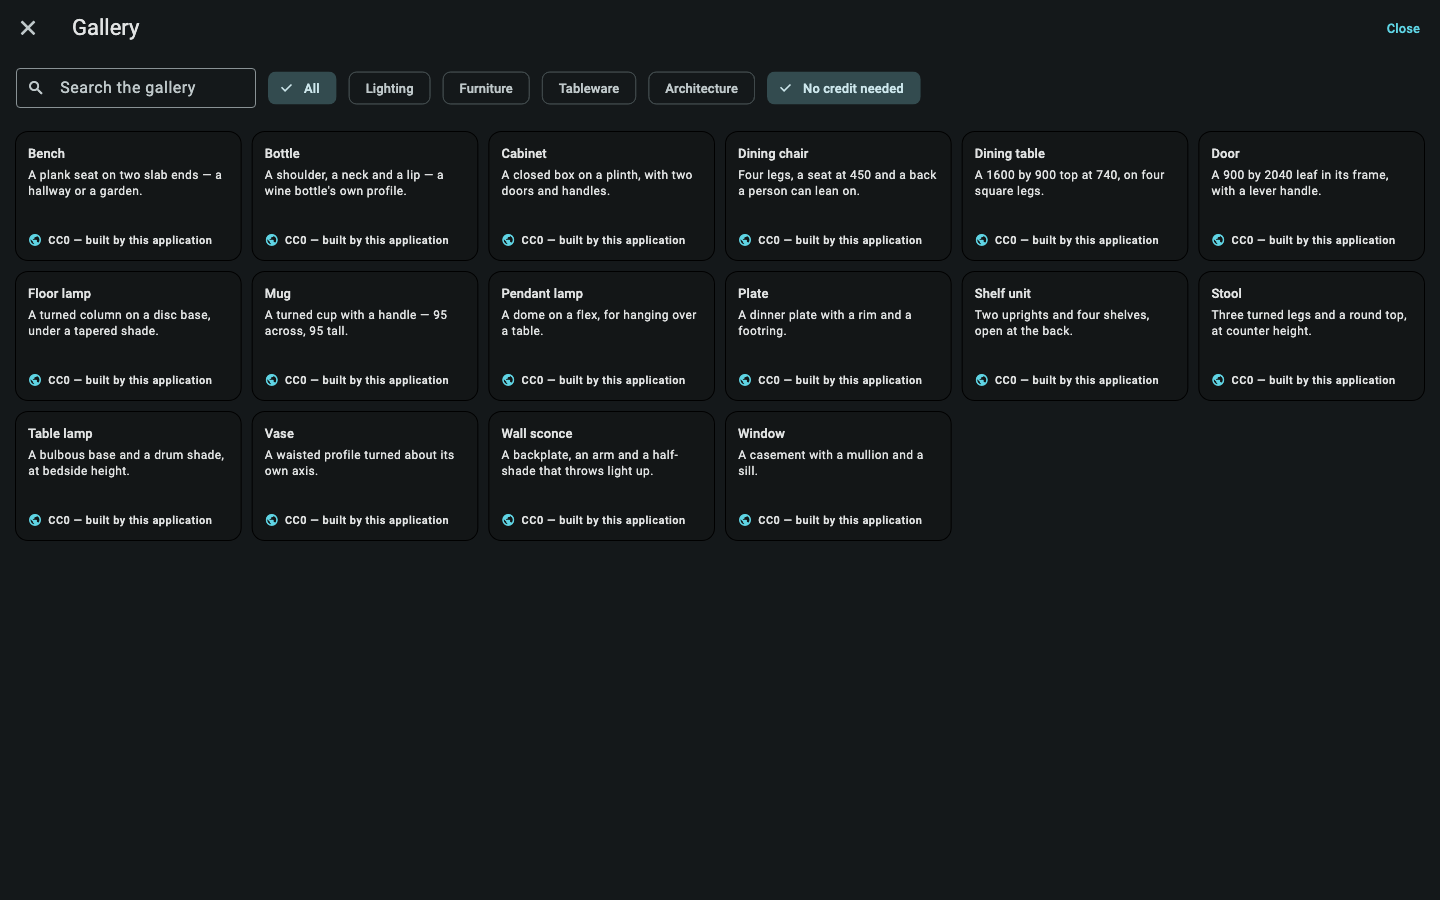
Every model here was built by this application, which is why every card says CC0 — the filter is there for the day that stops being true, not because it is interesting now.
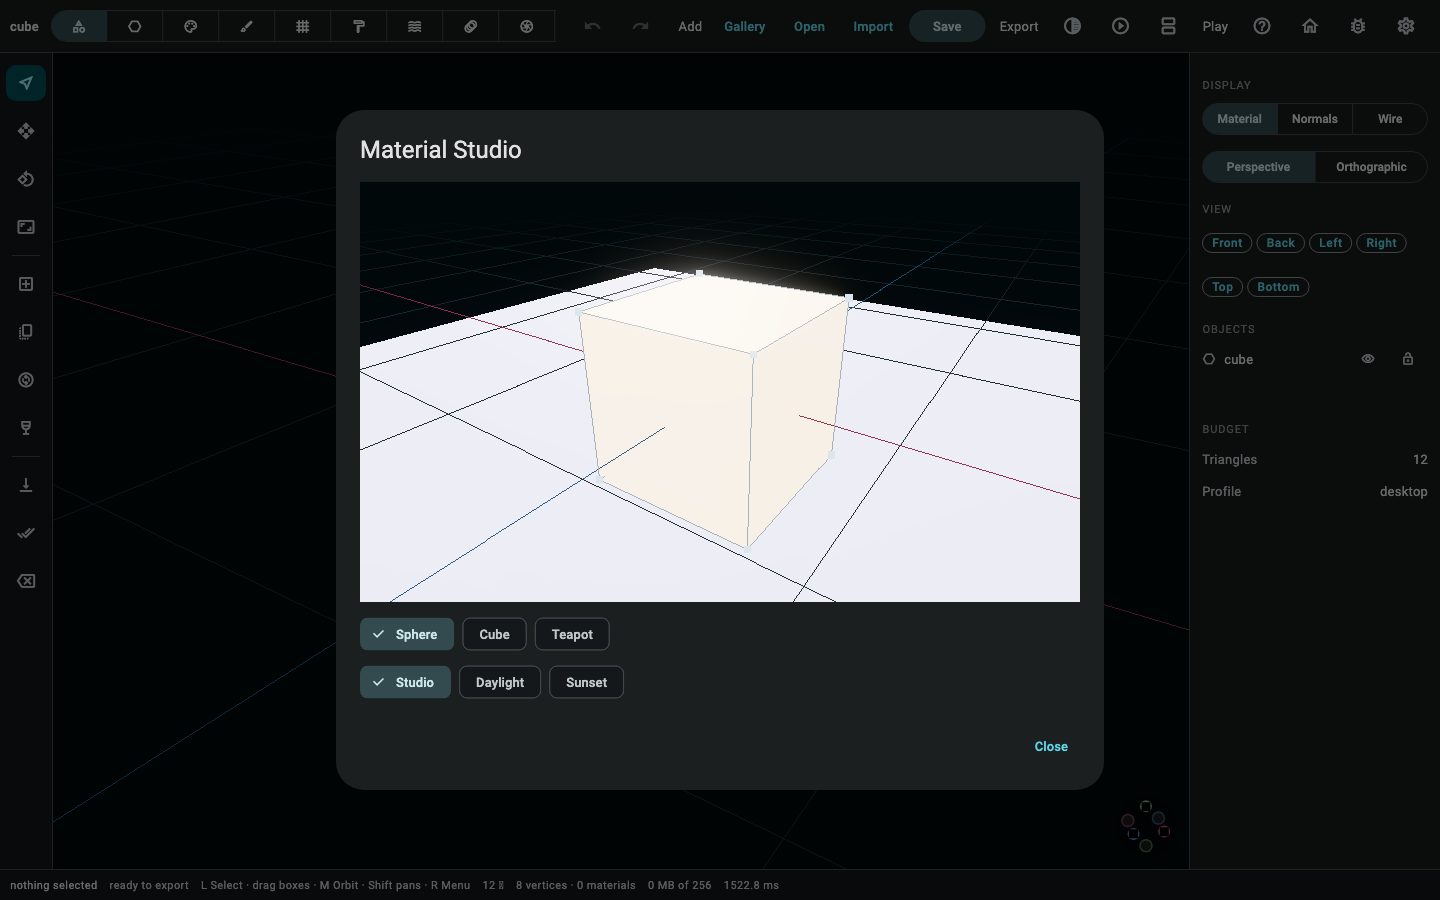
A material read off a flat panel of numbers is a material nobody can judge. Three shapes because roughness reads differently on a curve and an edge, and three environments because a surface that looks right under studio light and wrong at sunset is a surface that is wrong.
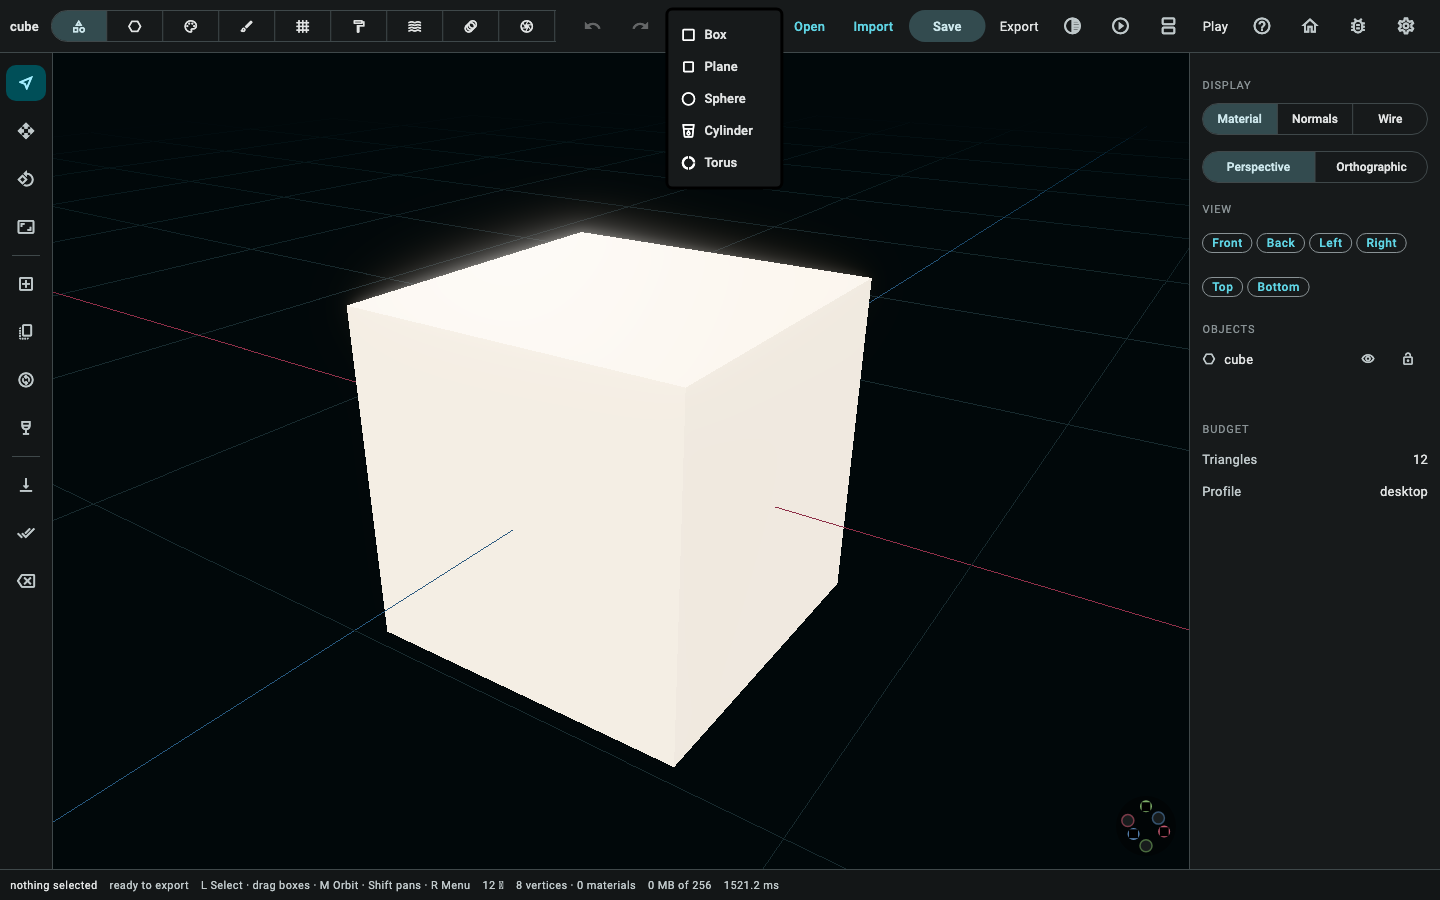
The three screens
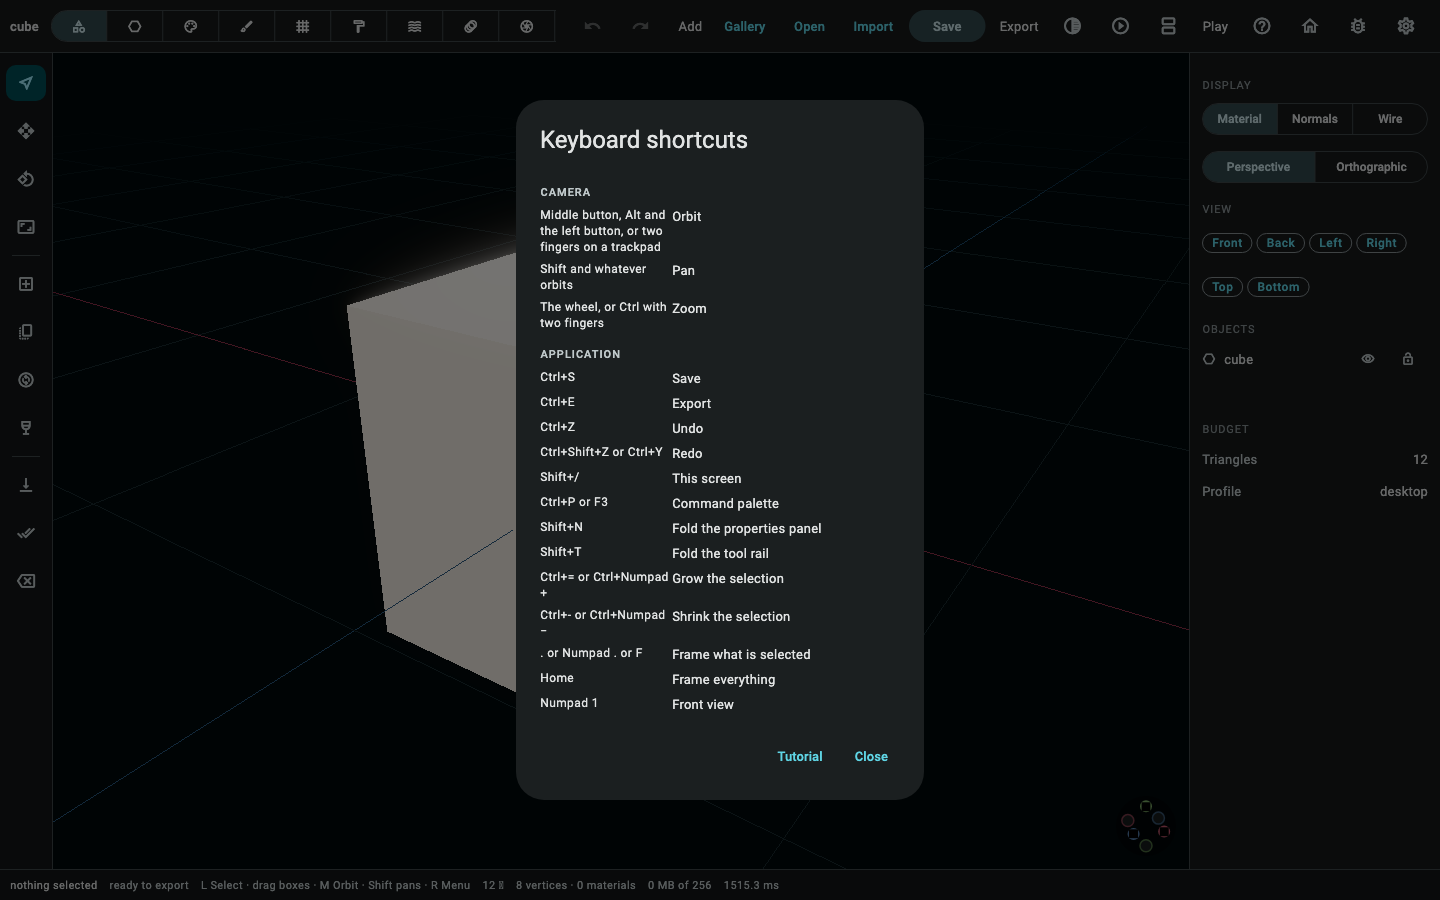
These are not modes — they are places the editor sends you, from any mode.