A prop from a scan
What you have: a single STL file off a 3D scanner or a CAD export —
teapot.stl in this walkthrough, the classic scanned-object stand-in every
3D tool ships with. What you want: a GLB, at the right real-world scale,
with one clean material, ready for a game engine or another scene.
This case exercises the start screen, the import dialog's own unit and axis choice, the export panel's own checks, and the material panel in between — the same four screens (20, 21, 05, 22 in the design handoff) that every "bring in somebody else's object" job in the modeler touches.
1. Start
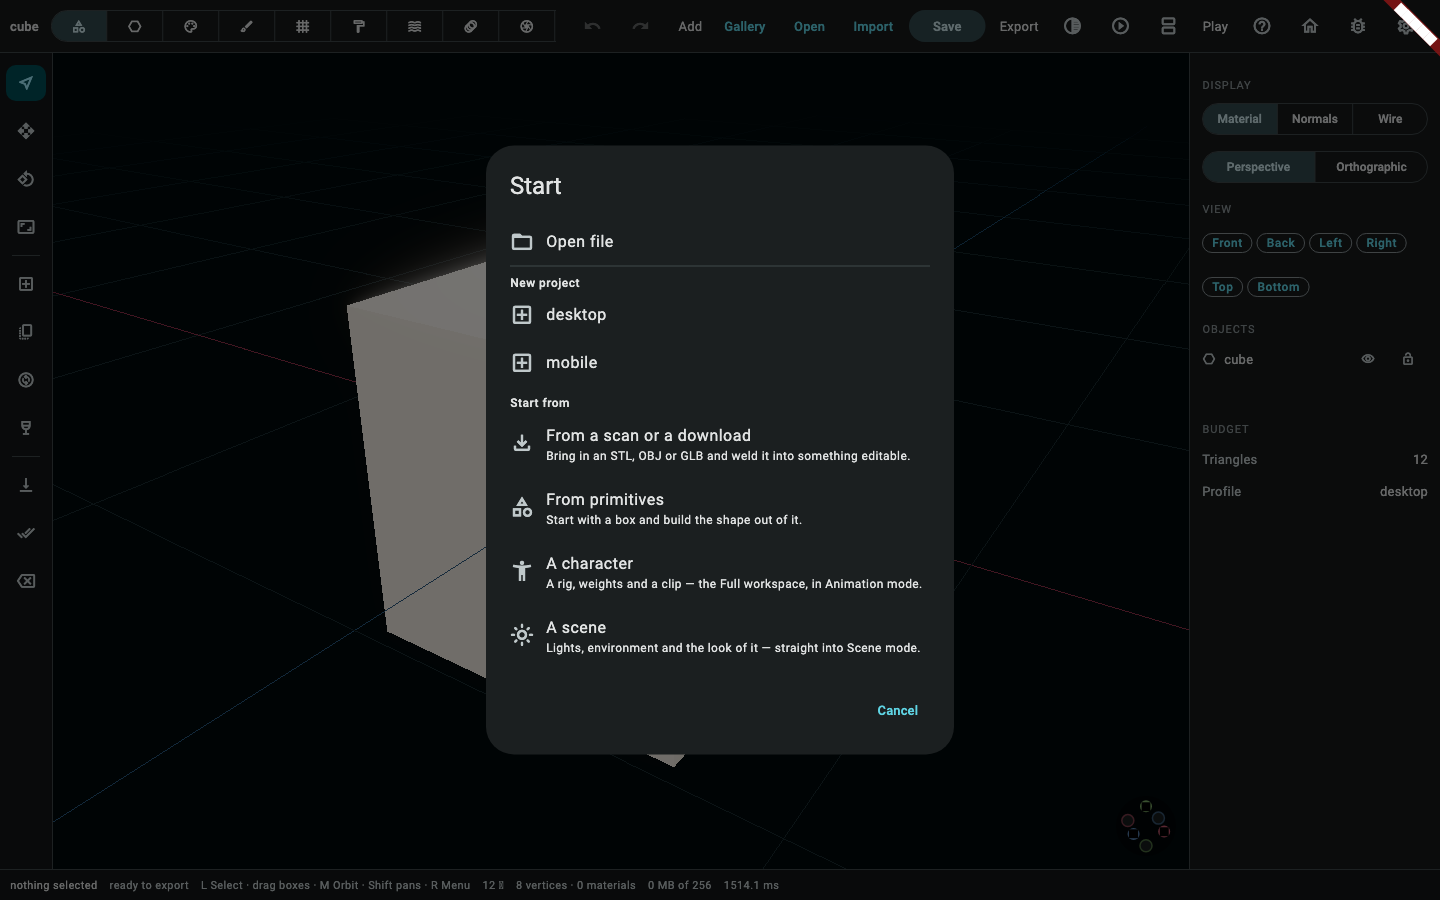
Launch the modeler. The very first launch asks five questions once — the camera scheme, the keymap, whether G and R act or arm, which workspace, and the language — and every launch after that opens Home: Open file, New project, four cards under Start from, and a list of anything you opened recently.
Two ways in from here, and both land in the same place. Open file and
pick teapot.stl, or take the first card, From a scan or a download,
which opens the import screen directly. If Home is switched off — there is a
"show this at launch" tick at the bottom of it — the ⌂ button in the top bar
opens it again.
2. Import: units and axis
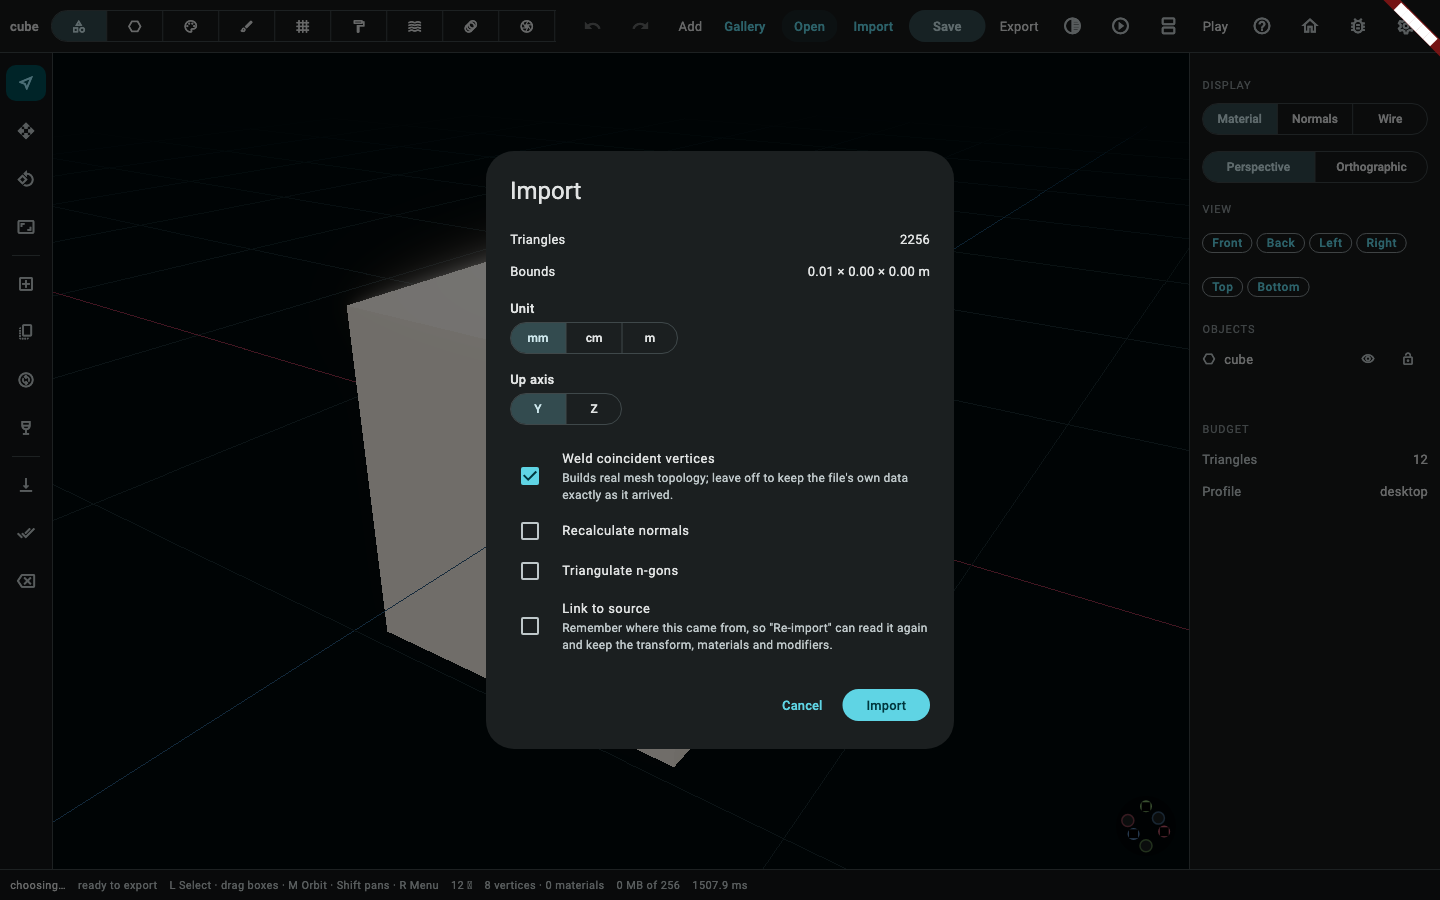
STL carries no unit at all — a scanner or a CAD tool that wrote "3.15" meant something by it, and the file does not say what. The import screen asks:
- Unit — millimetres, centimetres or metres. This scan is millimetres,
the STL default this project's own import options assume
(
ImportOptions.scale = 0.001reads a millimetre file as this project's metres). - Up axis — Y (this project's own convention) or Z (common out of CAD tools). This file is already Y-up, so the default is correct.
- Three checkboxes: weld coincident vertices, fix normals, triangulate. Leave weld on — an STL is a flat triangle soup with no shared vertices at all until something welds them, and turning it into real topology is what lets the editor's other mesh tools (Clean up, a later edit) act on the object at all — not, any more, what lets it be diagnosed; see the note below. Fix normals and triangulate are not needed here.
Choosing "mm" here is exactly ImportUnit.millimetres in
apps/flutter3d_modeler/lib/src/import_plan.dart; the bounds preview the
real screen shows is ImportPlan.scaledBounds reading the file's own
computeBounds() through that unit.
Diagnosis does not wait for weld.
ExportReadinessused to run its mesh checks (degenerate faces, pinched vertices, inside-out shells) only against a mesh that already had real topology — anEditedGeometryobject — so a file straight off the STL loader, stillImportedGeometry, read "ready to export" no matter what was actually wrong with it. That was a real gap (tut-01indoc/modeler-tutorial-gaps.md), closed since: the same three checks now run against a throwaway mesh built from the imported buffer purely to ask them, so the status line reports this teapot's pinched vertex whether or not "weld" is ticked. Leave weld on anyway — it is what turns the file into a mesh the editor's other tools can act on, which diagnosis alone was never going to give you.
3. Diagnose
The status line's readiness segment says what it finds as soon as the file
is imported — welded or not, now that ExportReadiness reads an imported
mesh's own topology too. For this file, once it is welded and renamed
"teapot":
exports with a warning: "teapot" has 1 vertex where two pieces of surface
          meet at a point and are joined nowhere else; the shading there will be wrong
          and nothing downstream can thicken or subdivide it
That is ExportReadiness.says (packages/flutter3d_model_core/lib/src/ readiness.dart) reading the one non-manifold vertex MeshChecks finds in
the welded teapot — the point where the lid and the body's topology meet.
Running Clean up (the same "weld duplicate vertices, drop degenerate
faces, fix winding" recipe session.cleanup() runs as one undo step) does
not change this: there is nothing left for it to weld or drop, and there is
no command in this build that un-pinches a single vertex two shells share.
The warning stays. It is a warning rather than an error because nothing
about the desktop export profile requires a fully manifold mesh
(ProjectProfile.requireManifold defaults to false) — the file will load
and draw correctly everywhere that matters for this job, so this is the
right moment to accept it and move on rather than chase a fix that does not
exist yet.
4. Material
Open the material panel and add one material: glazed ceramic. Set:
- Base colour — a warm off-white,
(0.92, 0.89, 0.82). - Metallic —
0. - Roughness —
0.28— glossy enough to read as a glaze, not a mirror.
Assign it to the teapot. The material list shows one row with a colour swatch instead of a checkbox, and the status line's material count moves from 0 to 1.
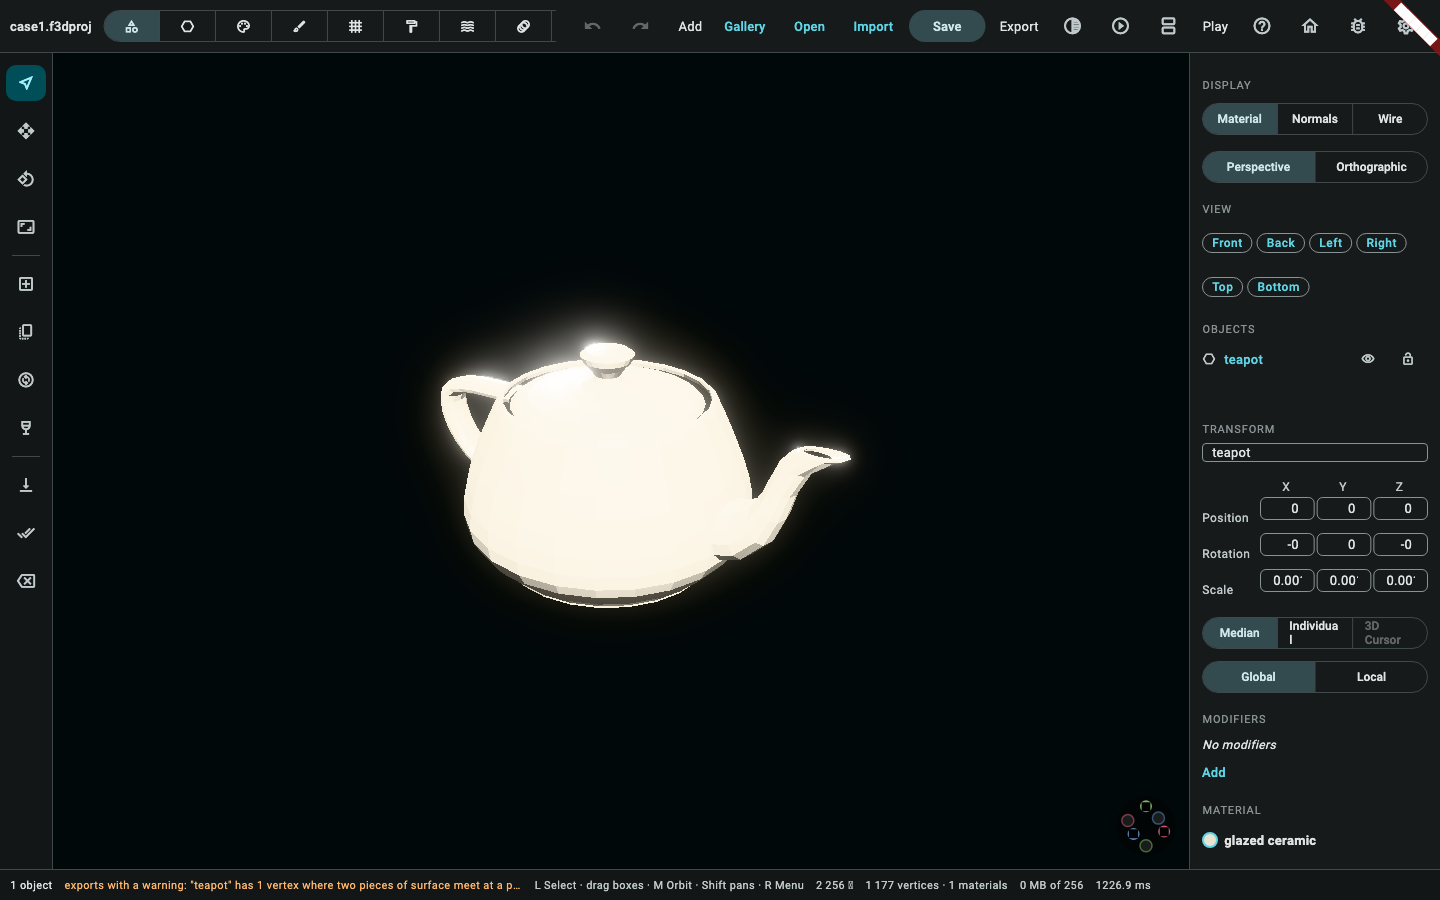
Below are the same teapot rendered twice, headlessly, through
renderProject (packages/flutter3d_model_mcp/lib/src/render_tool.dart's
own underlying function) — no viewport chrome, just the geometry, the way
render/renderSheet would hand it to an agent:
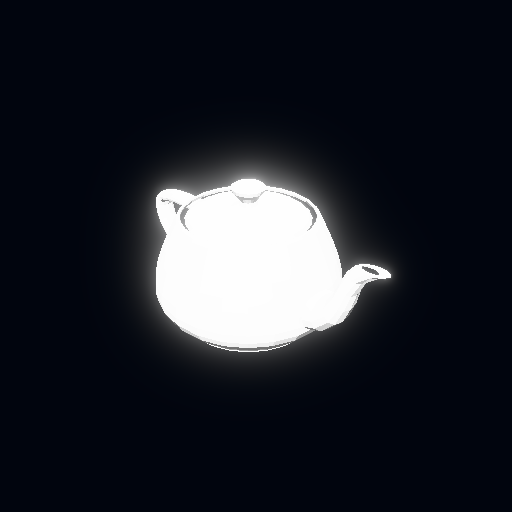

These two are real renders of this exact case's own project data (see "Proving it" below) — not mockups, and at the model's own size: about eight millimetres across, which is what a millimetre-scale scan read in as metres really is.
5. Export, with checks
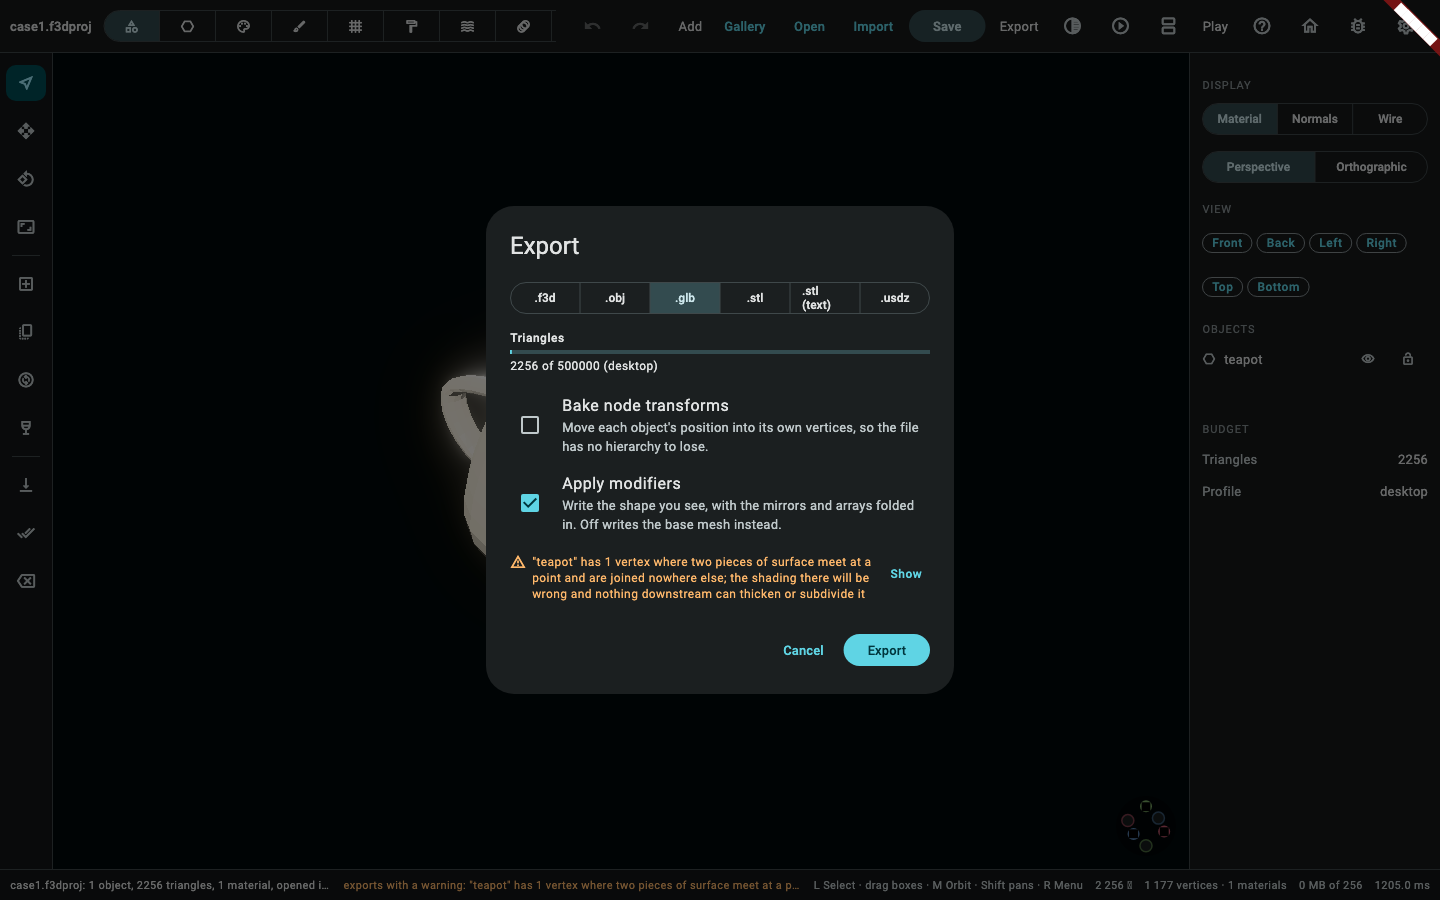
Export to GLB. The export panel shows the same readiness sentence as the status line and, because nothing here is an error, writes the file with the warning noted rather than refusing:
written to teapot.glb, with 1 warning: "teapot" has 1 vertex where two
          pieces of surface meet at a point and are joined nowhere else; the shading
          there will be wrong and nothing downstream can thicken or subdivide it
That is ModelSession.export's own answer sentence
(packages/flutter3d_model_mcp/lib/src/model_session.dart), verbatim.
6. Into the cabinet
Sign in at models.pleion.dev and upload teapot.glb from the site's own
uploader. It joins your cabinet with the name you exported it under, and
"Open in viewer" loads it at /app/ — the same web build of the modeler
this whole case ran in, reading the file back rather than a special
viewer-only path. Two things the cabinet cannot do yet, so you are not
missing a setting: it has no preview picture of its own (cloud/README.md's
own "What is not here yet"), and there is no way to open a cabinet model
back into the desktop editor and save changes to it — export is presently
one-way.
Notes on this page
Time to complete: not recorded yet. TODO: a person should walk this
case by hand on a real machine and fill in a line here — "n minutes,
date, machine" — the way rel-09's own cohort rows do. Nothing in this
session could actually run the desktop app, so no time is claimed.
Screenshots. Every picture of the editor on this page is real, taken
from the running application: the start screen, the import dialog with the
teapot's own STL in it, the material panel over the opened document, and the
export screen. They are taken headlessly rather than by hand — apps/flutter3d_modeler/ test/tutorial_case_screenshots_test.dart drives the real editor, the real
Open button and the real import screen under the software rasteriser, and
photographs the window — so they are goldens: a run says whether a panel has
moved since, and one command regenerates every page's pictures at once.
(cd apps/flutter3d_modeler && flutter test \
            test/tutorial_screenshots_test.dart \
            test/tutorial_case_screenshots_test.dart --update-goldens)
          dart run tool/publish_modeler_screenshots.dart
The export screen is reached by clicking what the status line says the model would export as, rather than from a button, and the screenshot step clicks exactly that.
The render scale, and the gap that used to need one. These two pictures
were rendered at 20× the model's own size until tut-02 was fixed: the
headless renderer's camera fit floored its bounding radius at 5 cm, so an
honestly millimetre-scale prop — this one is about 8 mm across — came out as
a few pixels in the middle of an empty frame. The floor was there because
the camera's near plane was fixed at a tenth of a metre, and a camera
framing something 8 mm across stands closer than that. The fit now derives
its own near and far planes from the distance it computes, the way the
interactive viewport's camera always has, so both pictures are of the
project exactly as the fixtures carry it.
Proving it. Every step above is a real, replayable command, not
narration. packages/flutter3d_model_mcp/test/fixtures/tutorial/ case1_scenario.dart builds exactly the project this page describes,
through ModelSession.import itself — the same call an agent makes over
MCP, given ImportOptions(scale: 0.001) and weld: true for the identical
"mm" and "weld coincident vertices" choice made above;
packages/flutter3d_model_mcp/test/tutorial_scenarios_test.dart replays
its journal (case1.jsonl) through CommandJournal.replay against a
freshly imported teapot and checks the result matches the committed
case1.f3dproj and case1.glb byte for byte, plus a
compareModelDocuments check on the exported GLB read back. The one thing
the journal does not carry is the import step itself: ReplaceDocument —
what an import runs — is deliberately not journalable (command.dart's own
doc comment, flutter3d_model_core), so replay starts from the project
right after import rather than from an empty one.